Blog

The official photo blog of J. David Buerk Photography.

2015 Dodge Dart SXT Review

On a recent trip to St. Louis, I spent two weeks with a brand new 2015 Dodge Dart SXT.  Think the Dart is just a sexy Neon?  Think again.

My rental Dart had only a couple hundred miles on the clock when it was given to me - I was only the second person to rent this car.  This Dart was a 2015 SXT in True Blue Pearl Coat equipped with the 2.4L I-4 mated to a 6-Speed Automatic transmission with AutoStick, and no other options beyond a spare tire; MSRP is ~$19,890.

Exterior: 7 / 10

I’ll reiterate that this was a rental car with not much more than standard options.  The Dodge Dart does have a number of appearance packages available which provide a more aero-aggressive styling, larger rims, dual exhaust with chrome tips, and a few other stylistic options.  This Dart had none of these upgrades.

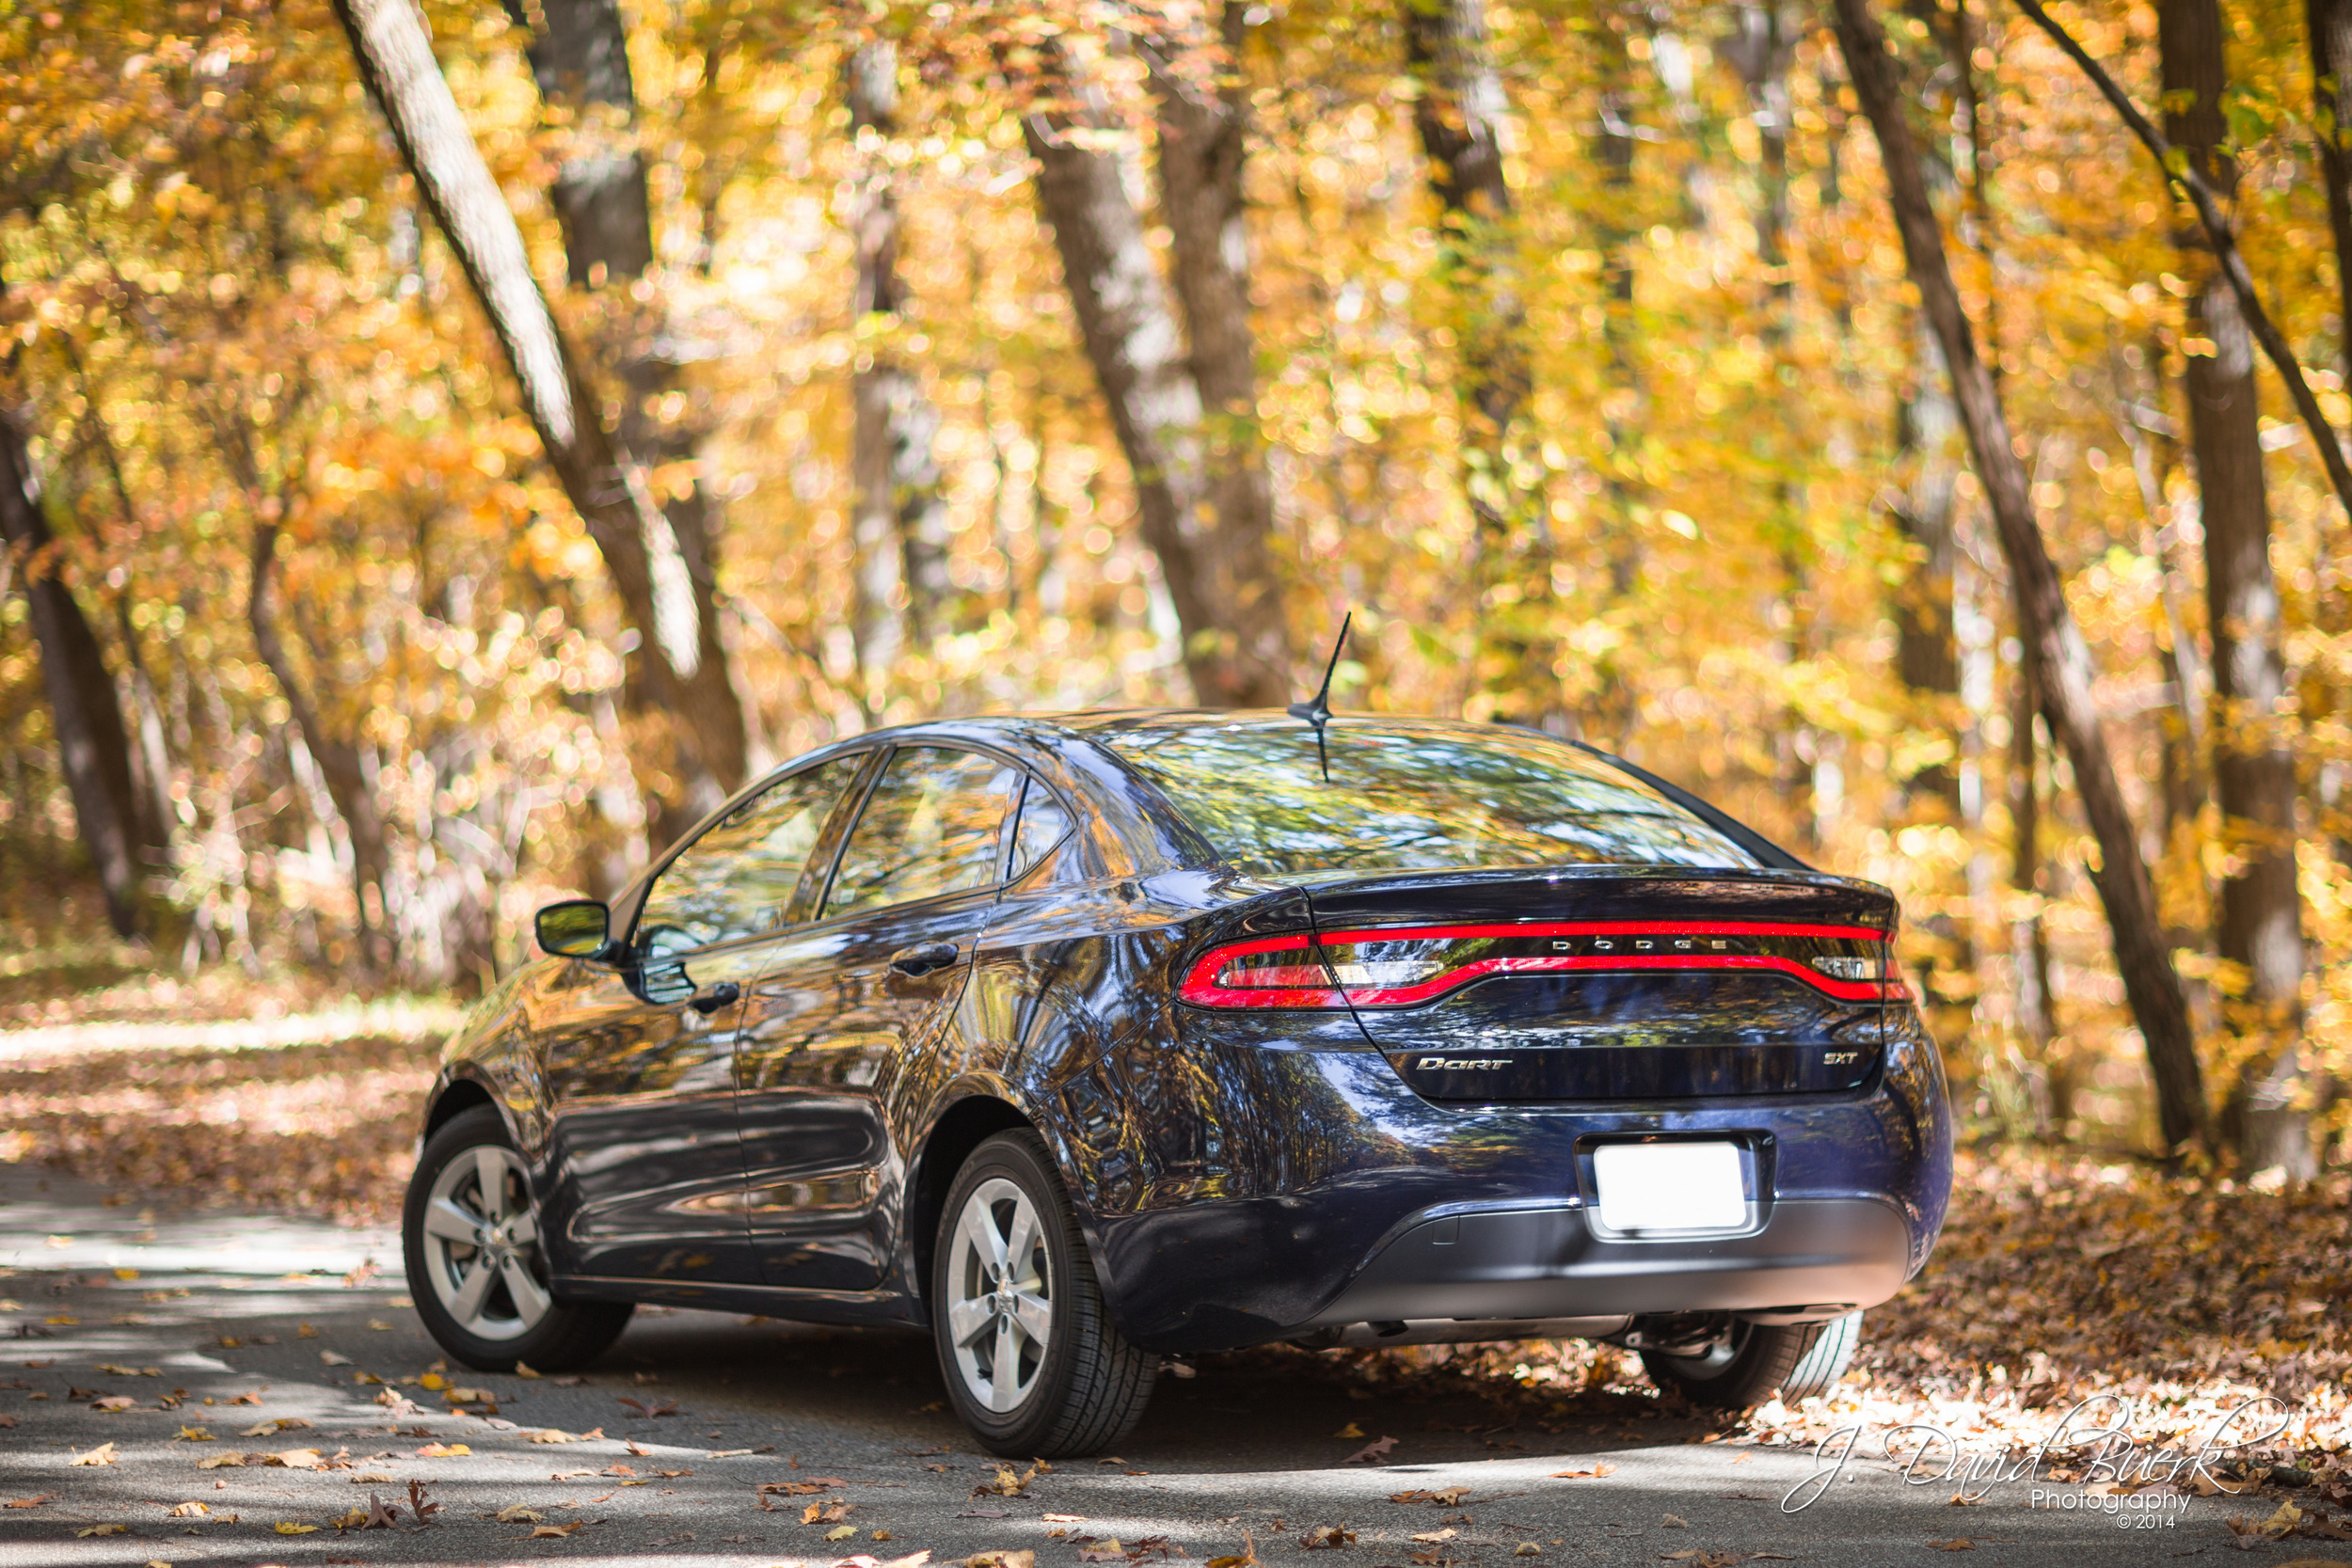
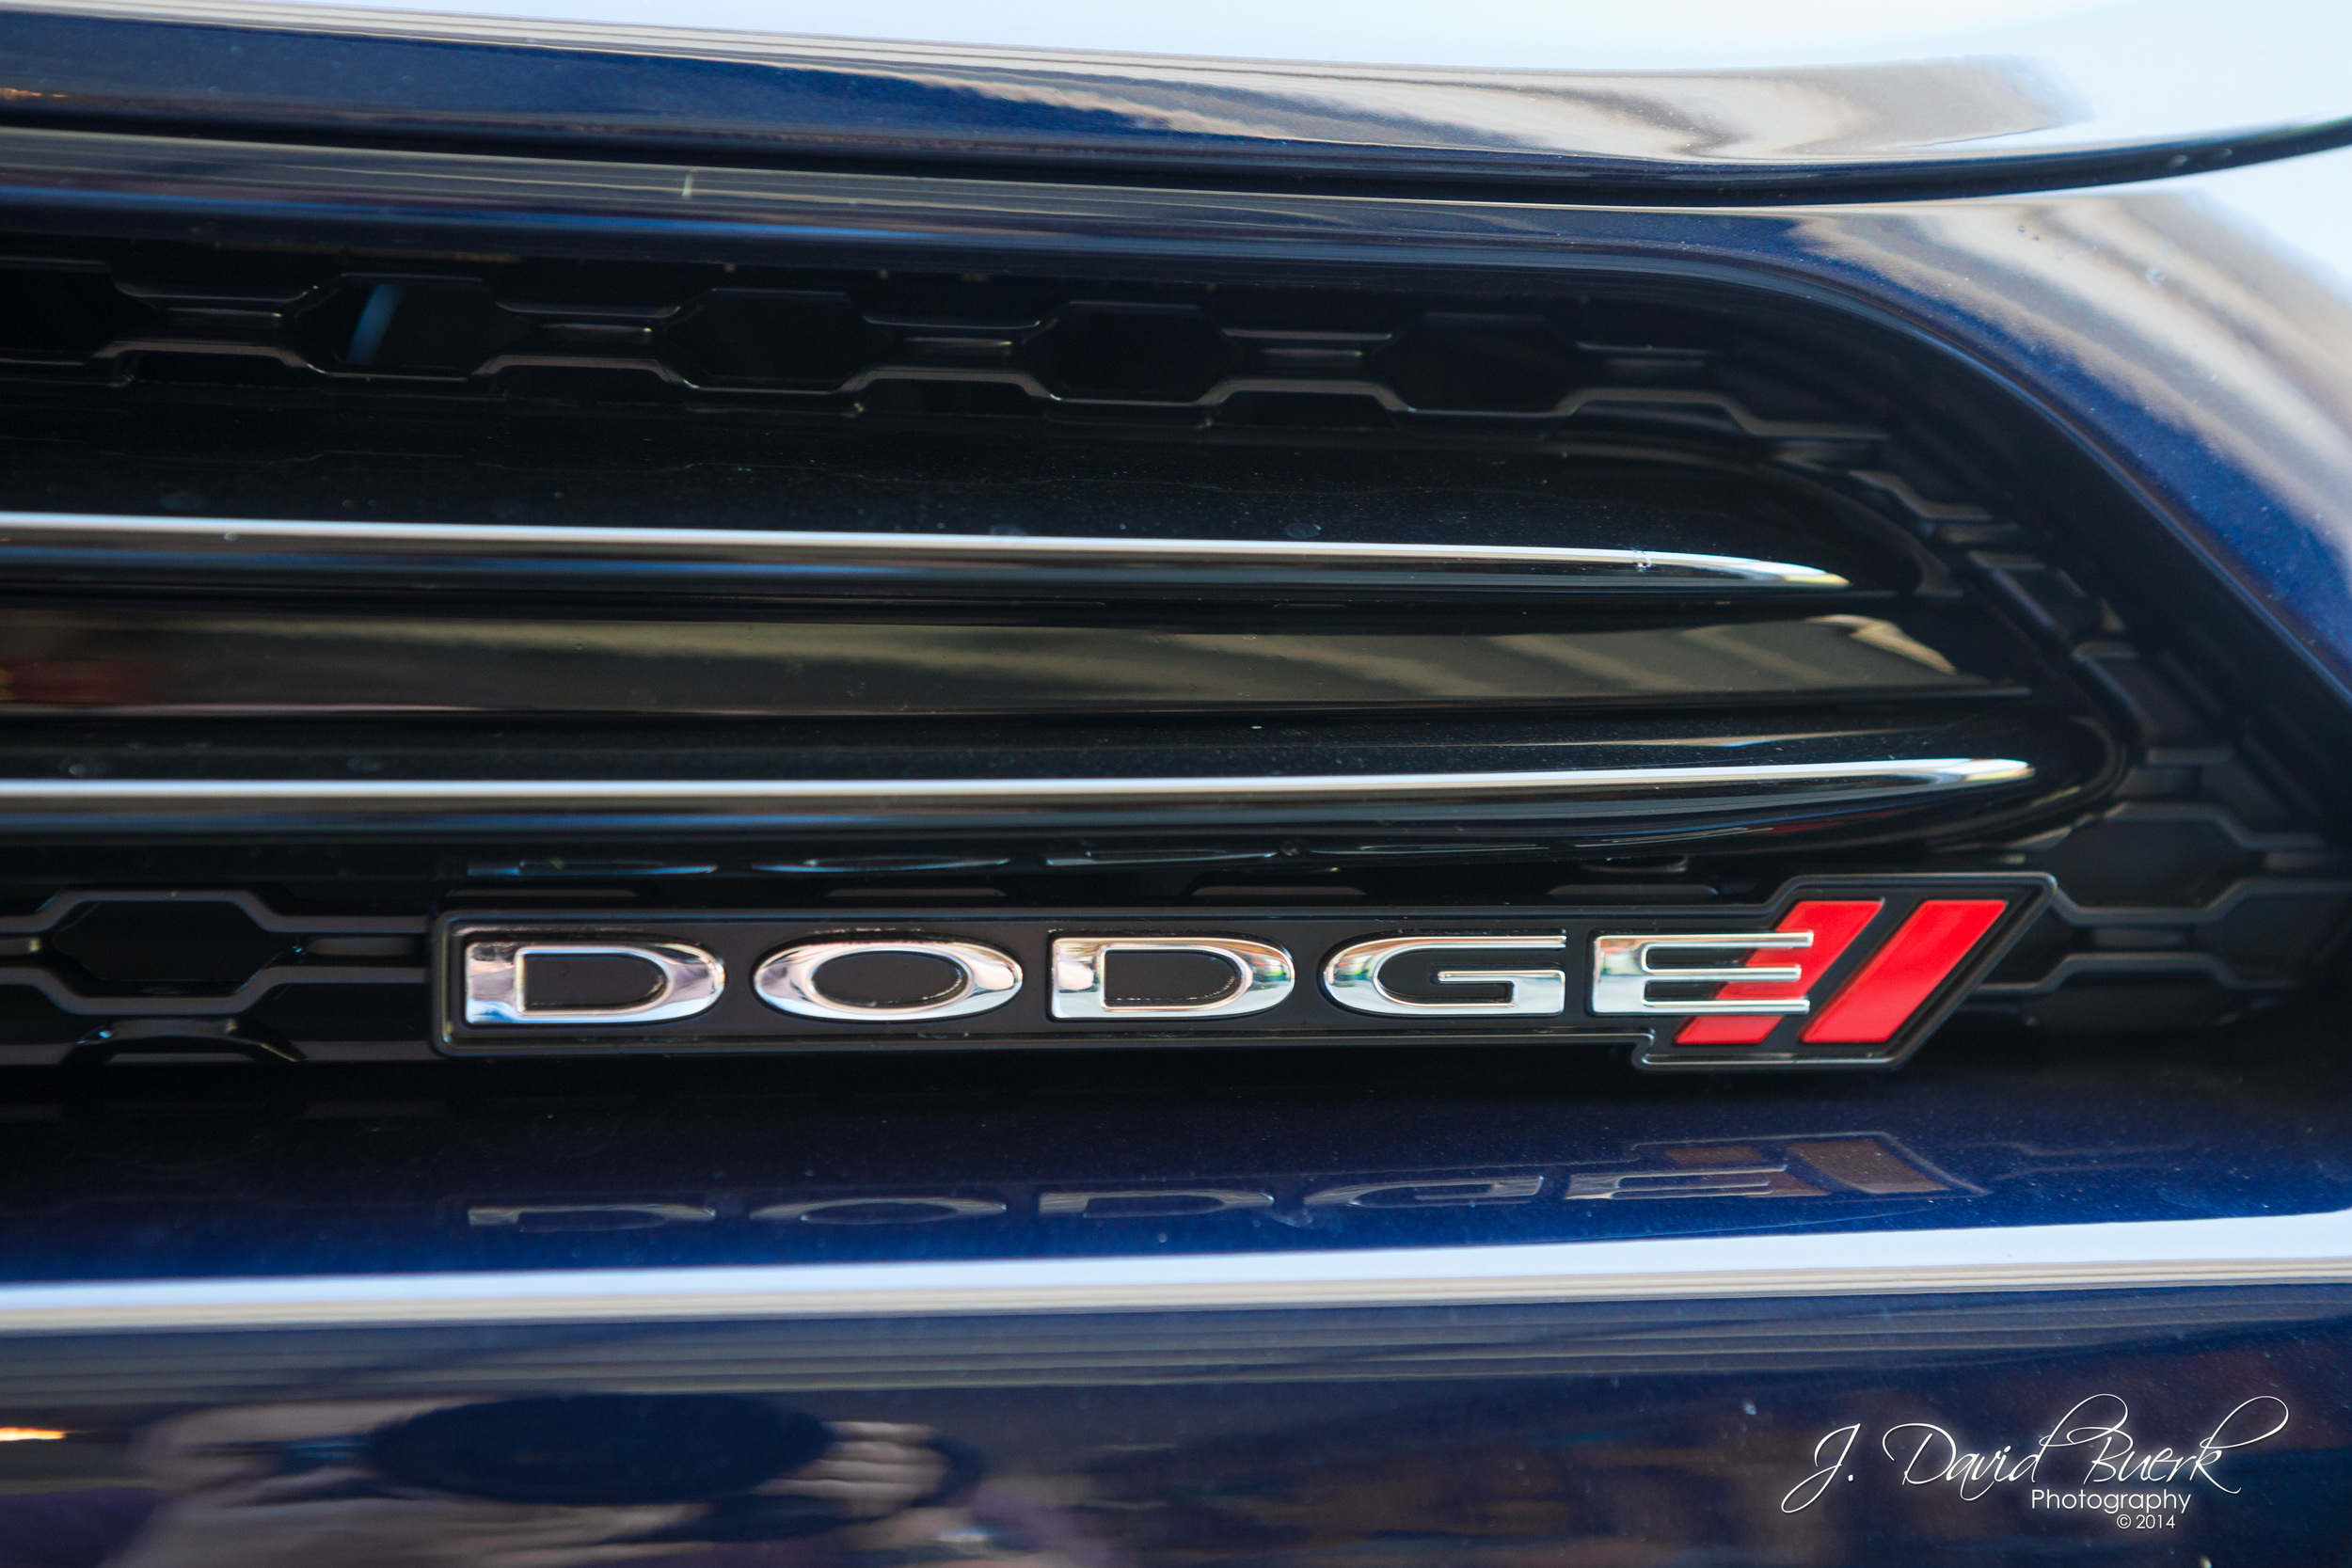
That said, I have always been a big fan of the modern Dart’s looks.  The paint was a deep navy blue with slight metallic look (True Blue Pearl Coat), with color matched side mirrors standard.  The classic Dodge crosshair grille is a piano black plastic that fits the nature of the car; anything else would be out of place - chrome or some silver / grey color would bring back sour memories of the Avenger, and a flat / matte black would look really cheap.  The piano black is surely the best choice.  Thin chrome strips adorn the fog light covers; there is a strip of chrome on the inside of the crosshair grille, but it is darker (more like a gunmetal) and hardly noticeable.

And those headlights; I’ve always loved the mean headlight design, with deep orange “undercover” feeling parking lights - the combination really makes the car look as though it is a bulldog creeping up to pounce and attack, only enhanced by the side lines to the rear, giving the car a hunched down appearance.

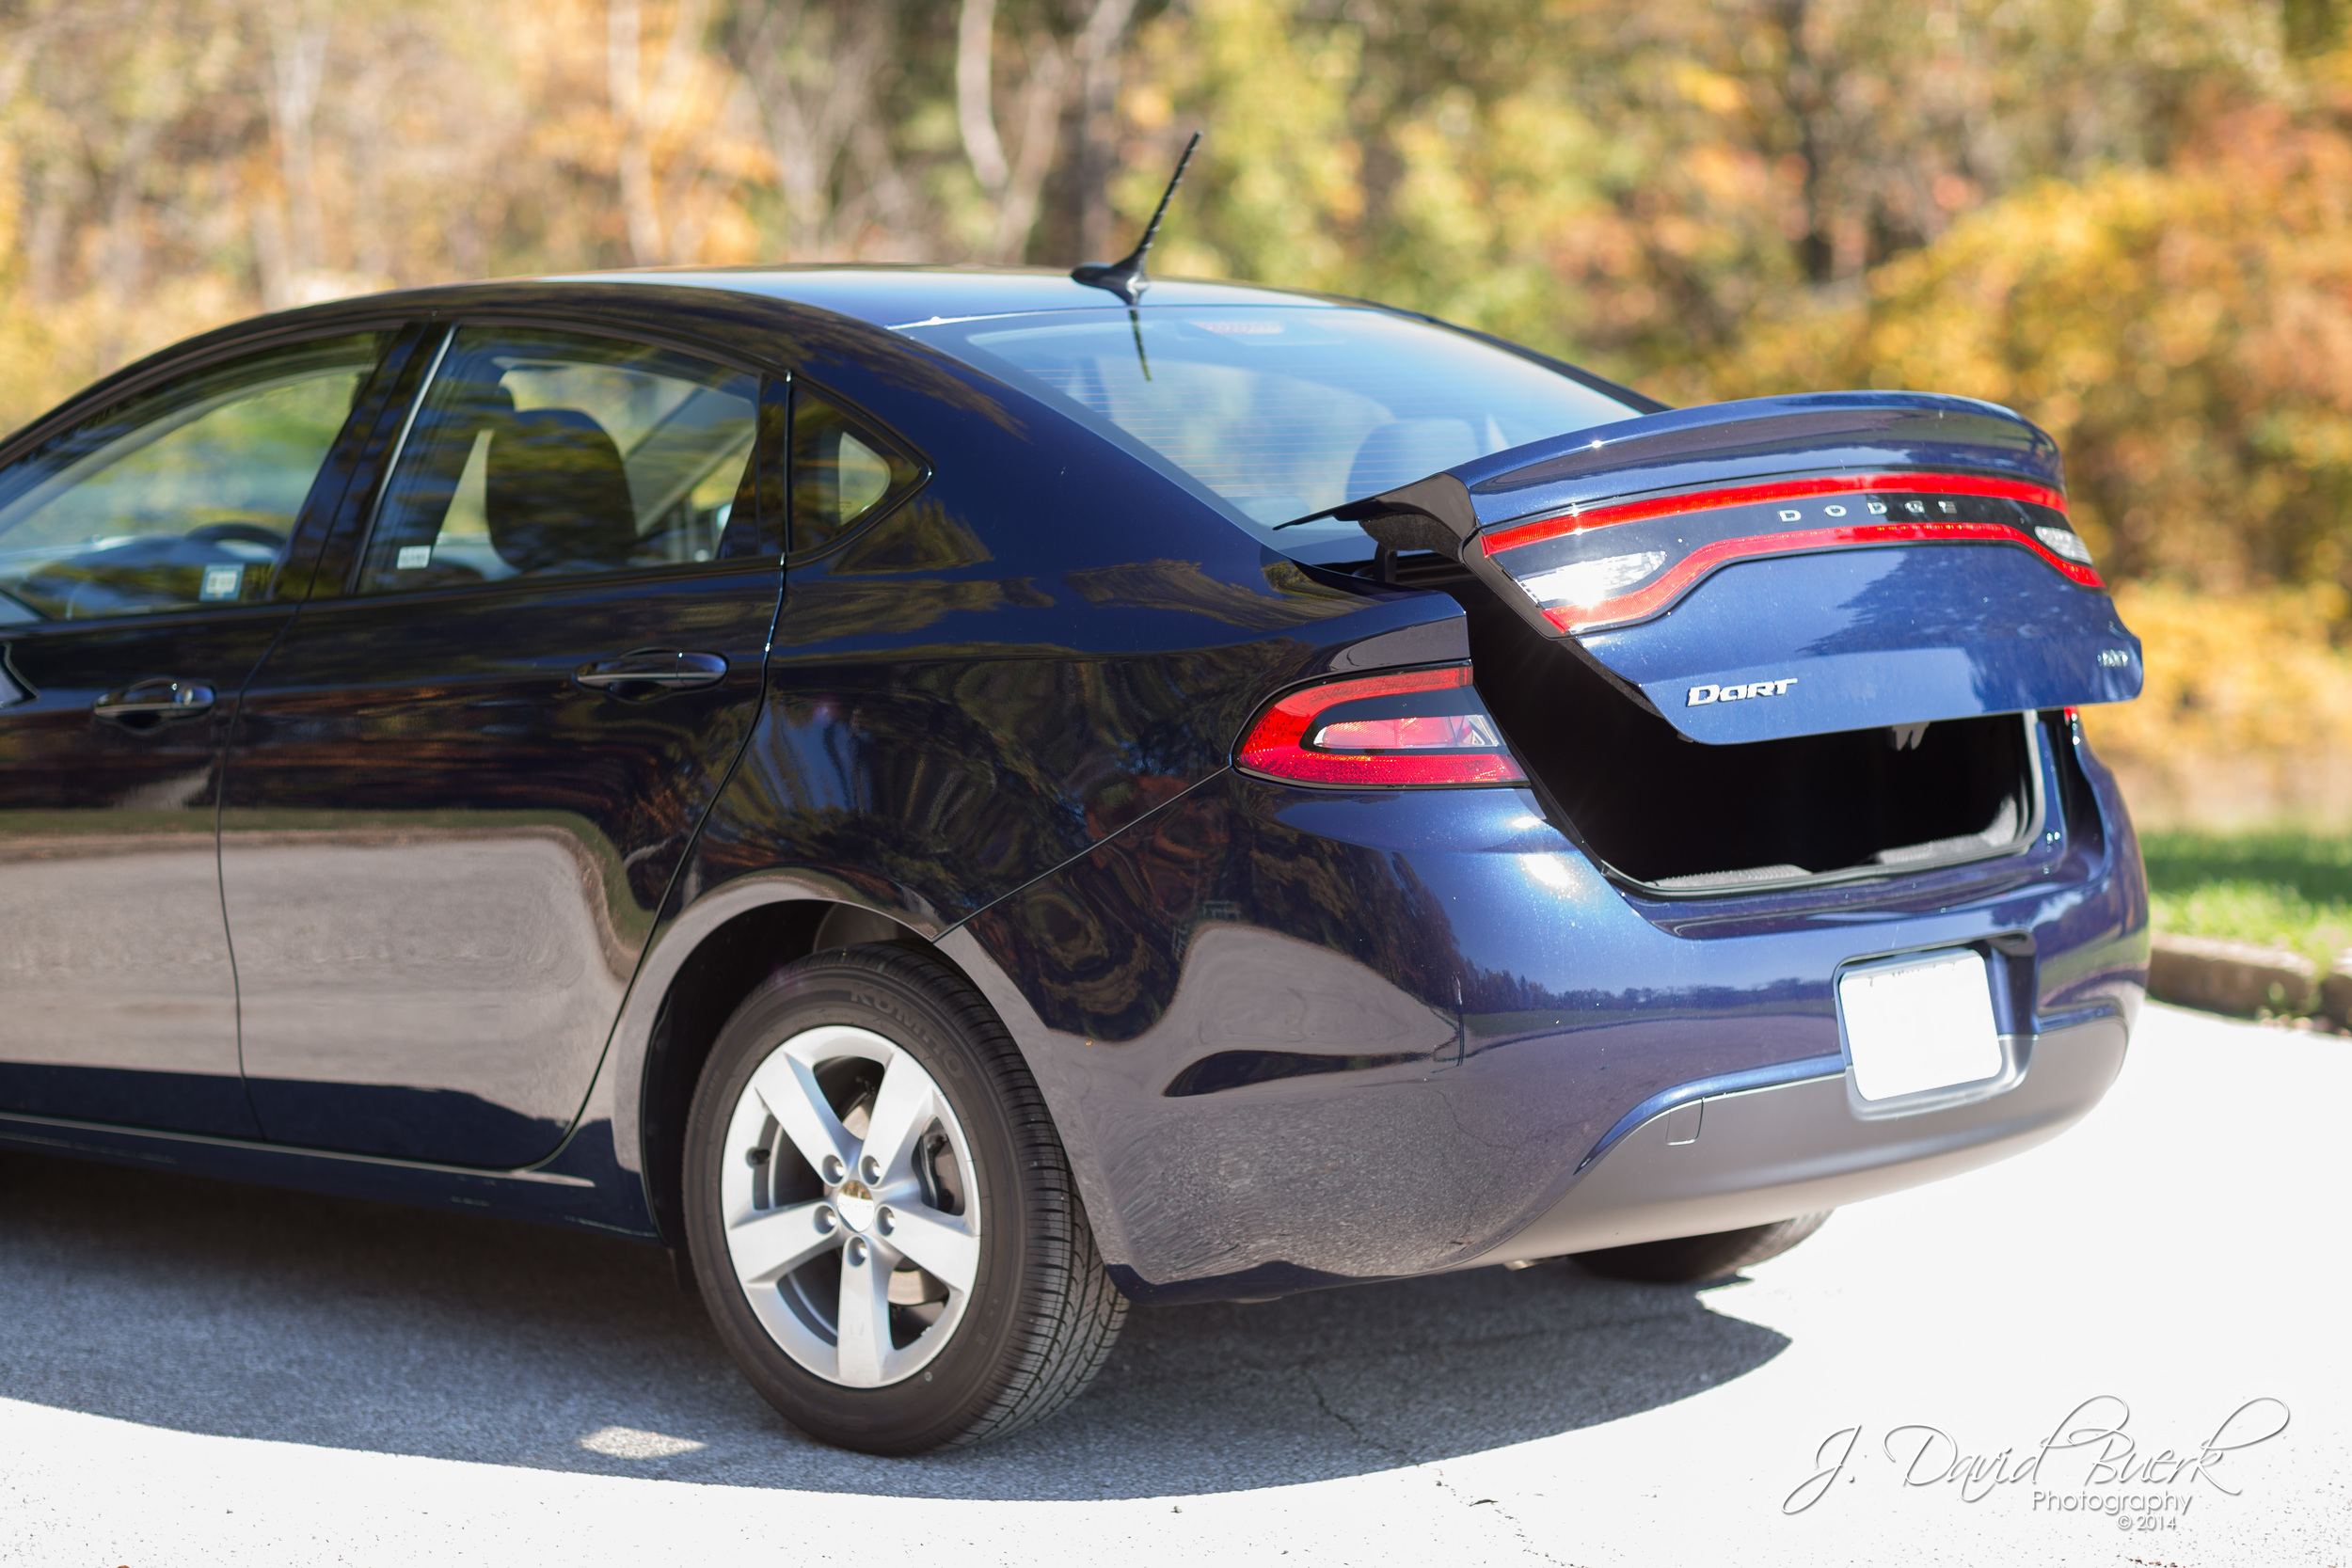
The rear end has always needed some refinement in my opinion.  The taillights are perfect; a wonderful compliment to the Dart’s older brother, the Charger with its bright, grown up taillight.  Likewise, the trunk and decklid is well done, with appropriate shaping and ducktail spoiler-like flaring.  My complaint with the rear styling is the bubble-butt feel - the quarterpanels’ bottom corners are just too rounded and shaved for my taste.  I realize that the Dart is more rounded than the boxier Charger, but I feel design could have reached a happy medium in this area, making edges slightly sharper for a more aggressive look.

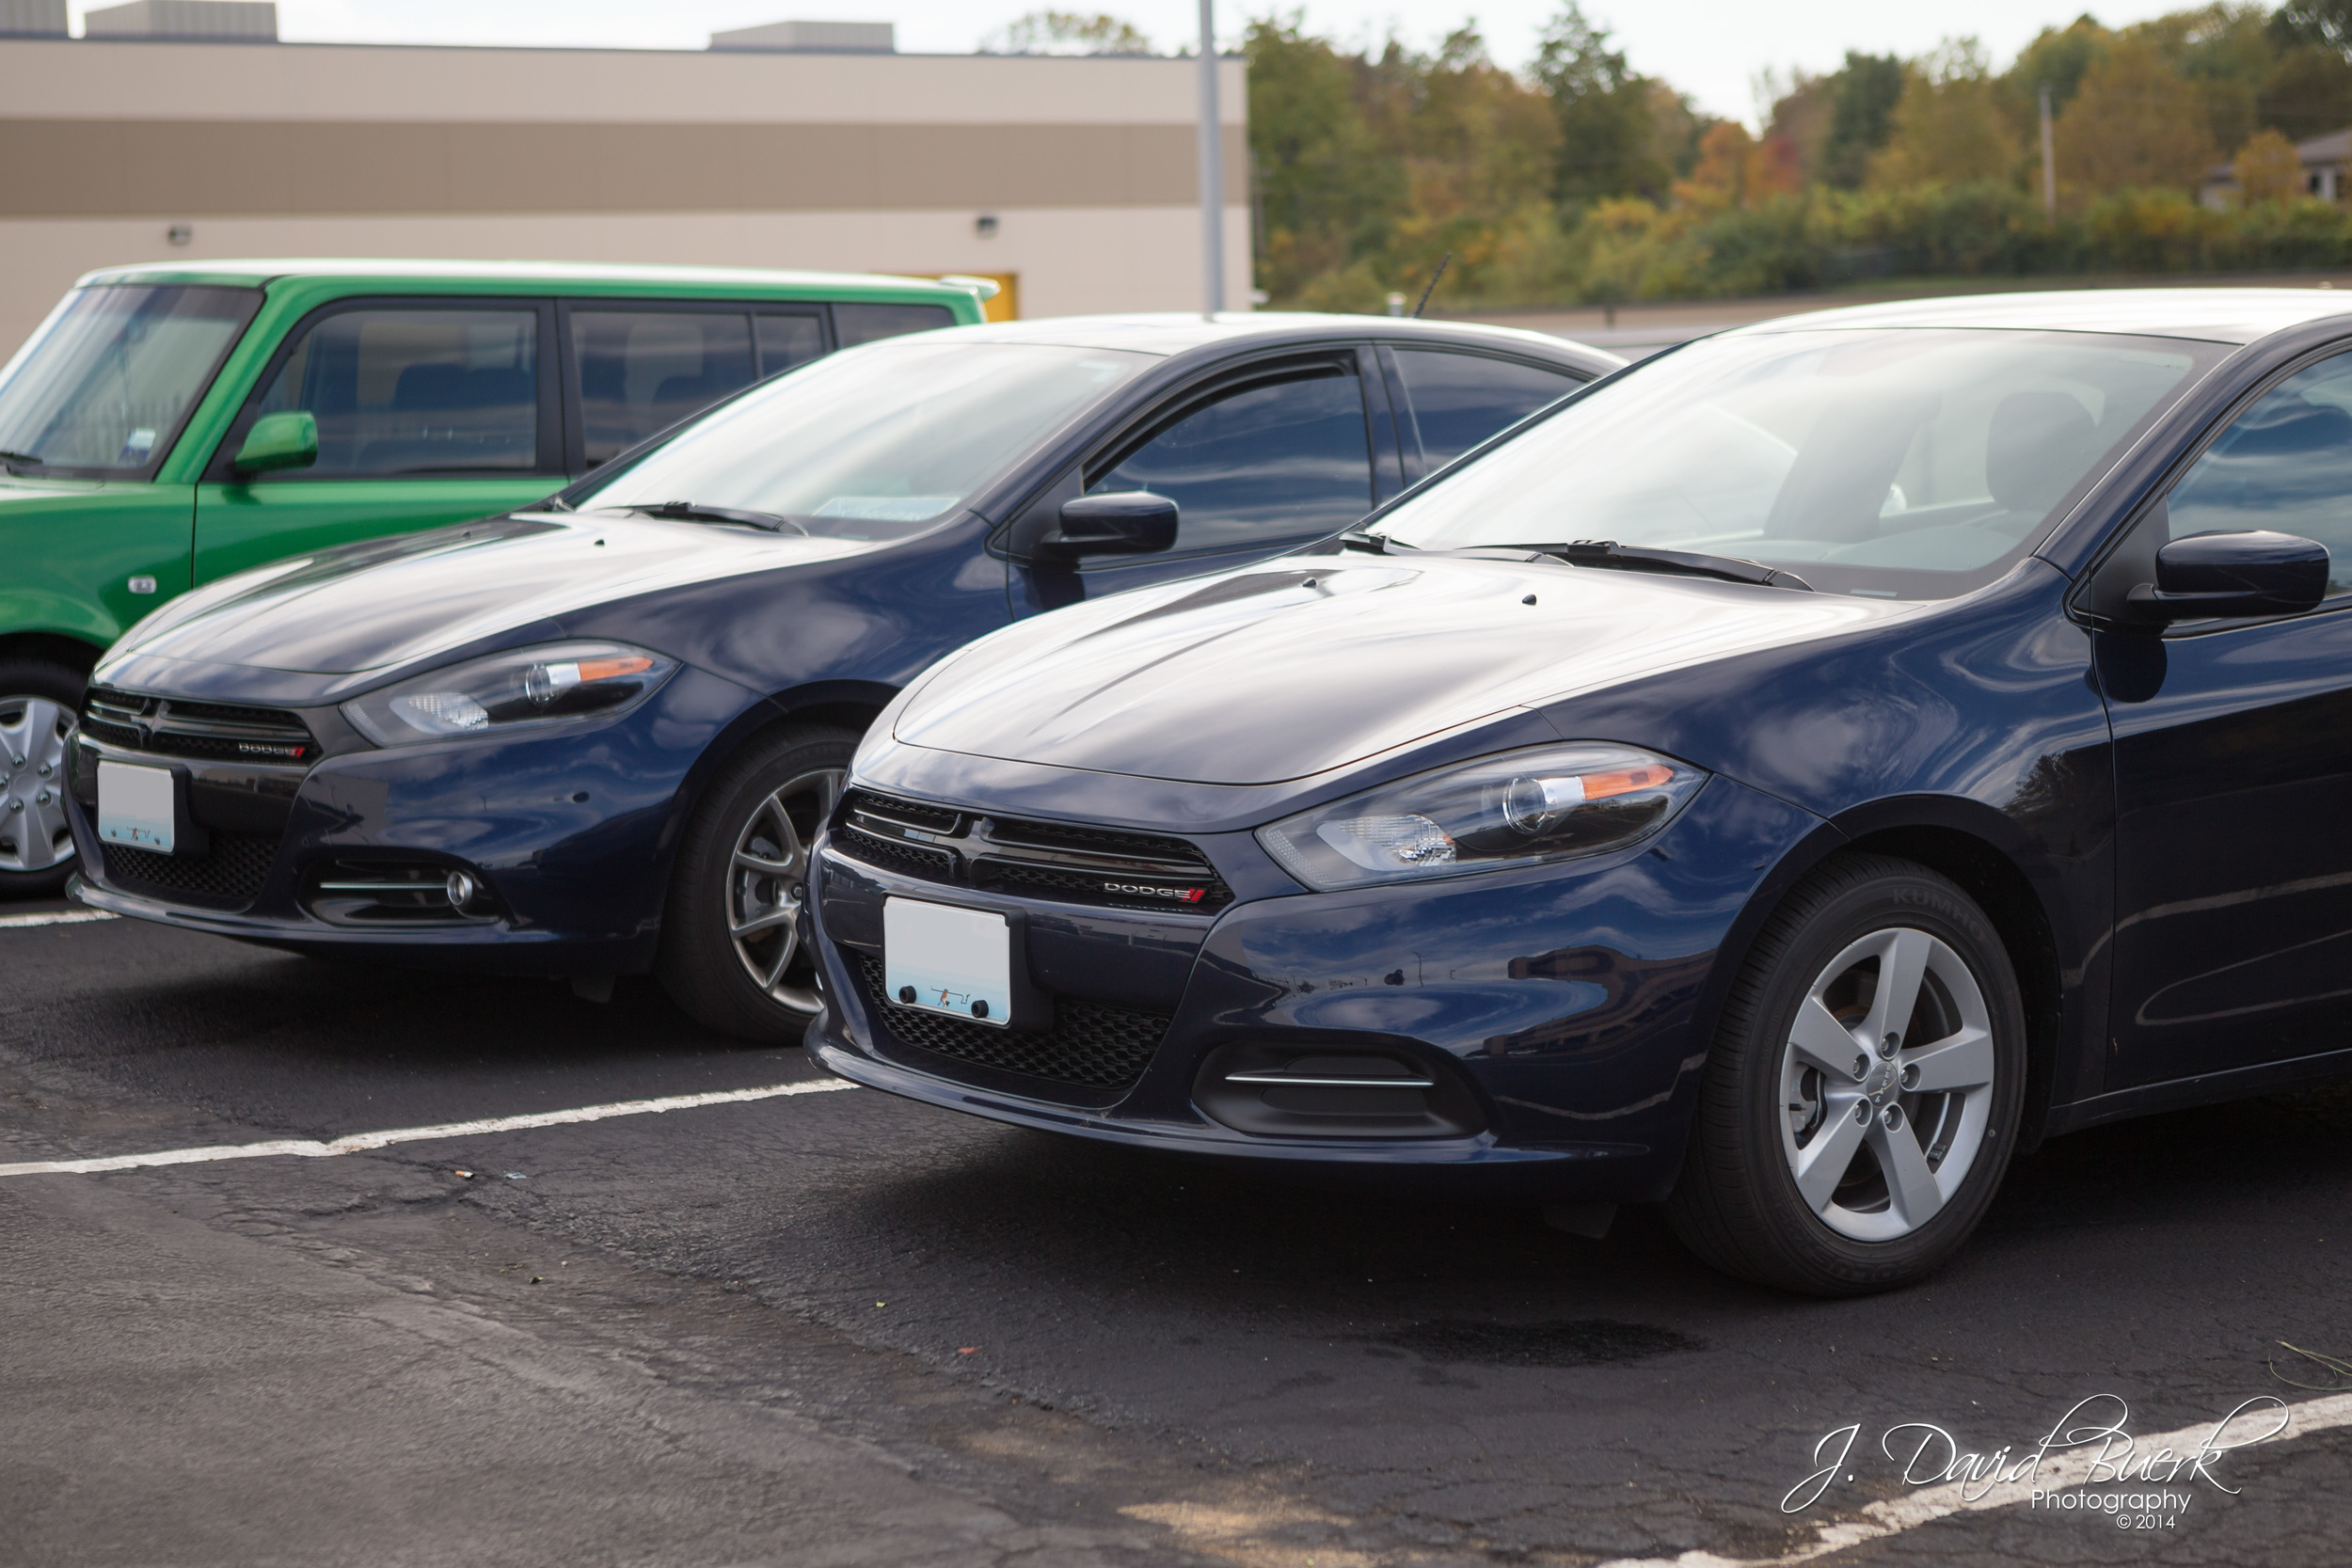
Dart and friends at Starbucks.

Additionally, the rear sports a very cheap matte plastic underneath the license plate.  Surely this is meant to be easily replaced by taking the brunt of your basic parking lot, shopping cart, and bollard dings, but everyone knows this material is a scratch and mar magnet.  The slightest scrape and the plastic turns white, or permanently takes on invading paint colors.  Left out in the sun, this plastic turns light grey in just a few years.  Over time, this will be the Dart’s fatal flaw in its exterior.

The rims on this Dart were the basic 16" painted aluminum 5-spokes.  They look fine, but of course the upgraded 17” or 18” rims would fill the wheel wells more appropriately.  Black painted rims offer a moody, aggressive attitude, however I’d like to see the addition of a 17” chrome rim option that I think would also look great on this car.

Overall, the Dart’s reimagined form is well done, but could use some tweaking in a facelift to really set it apart and even out the quality level among its components.

Interior: 7 / 10

Sitting down in the Dart was comfortable, and the car is easy to enter and exit.  Cloth mesh seats are supportive and well designed.  I am happy to report that there is no annoying knap.  The drivers seat was adjustable 6 ways manually, plus a perfectly placed headrest with standard height adjustment (no tilt adjustment, but I found the placement just right - something I am very picky about).  The Dart has optional bun warmers - this one did not have them equipped.

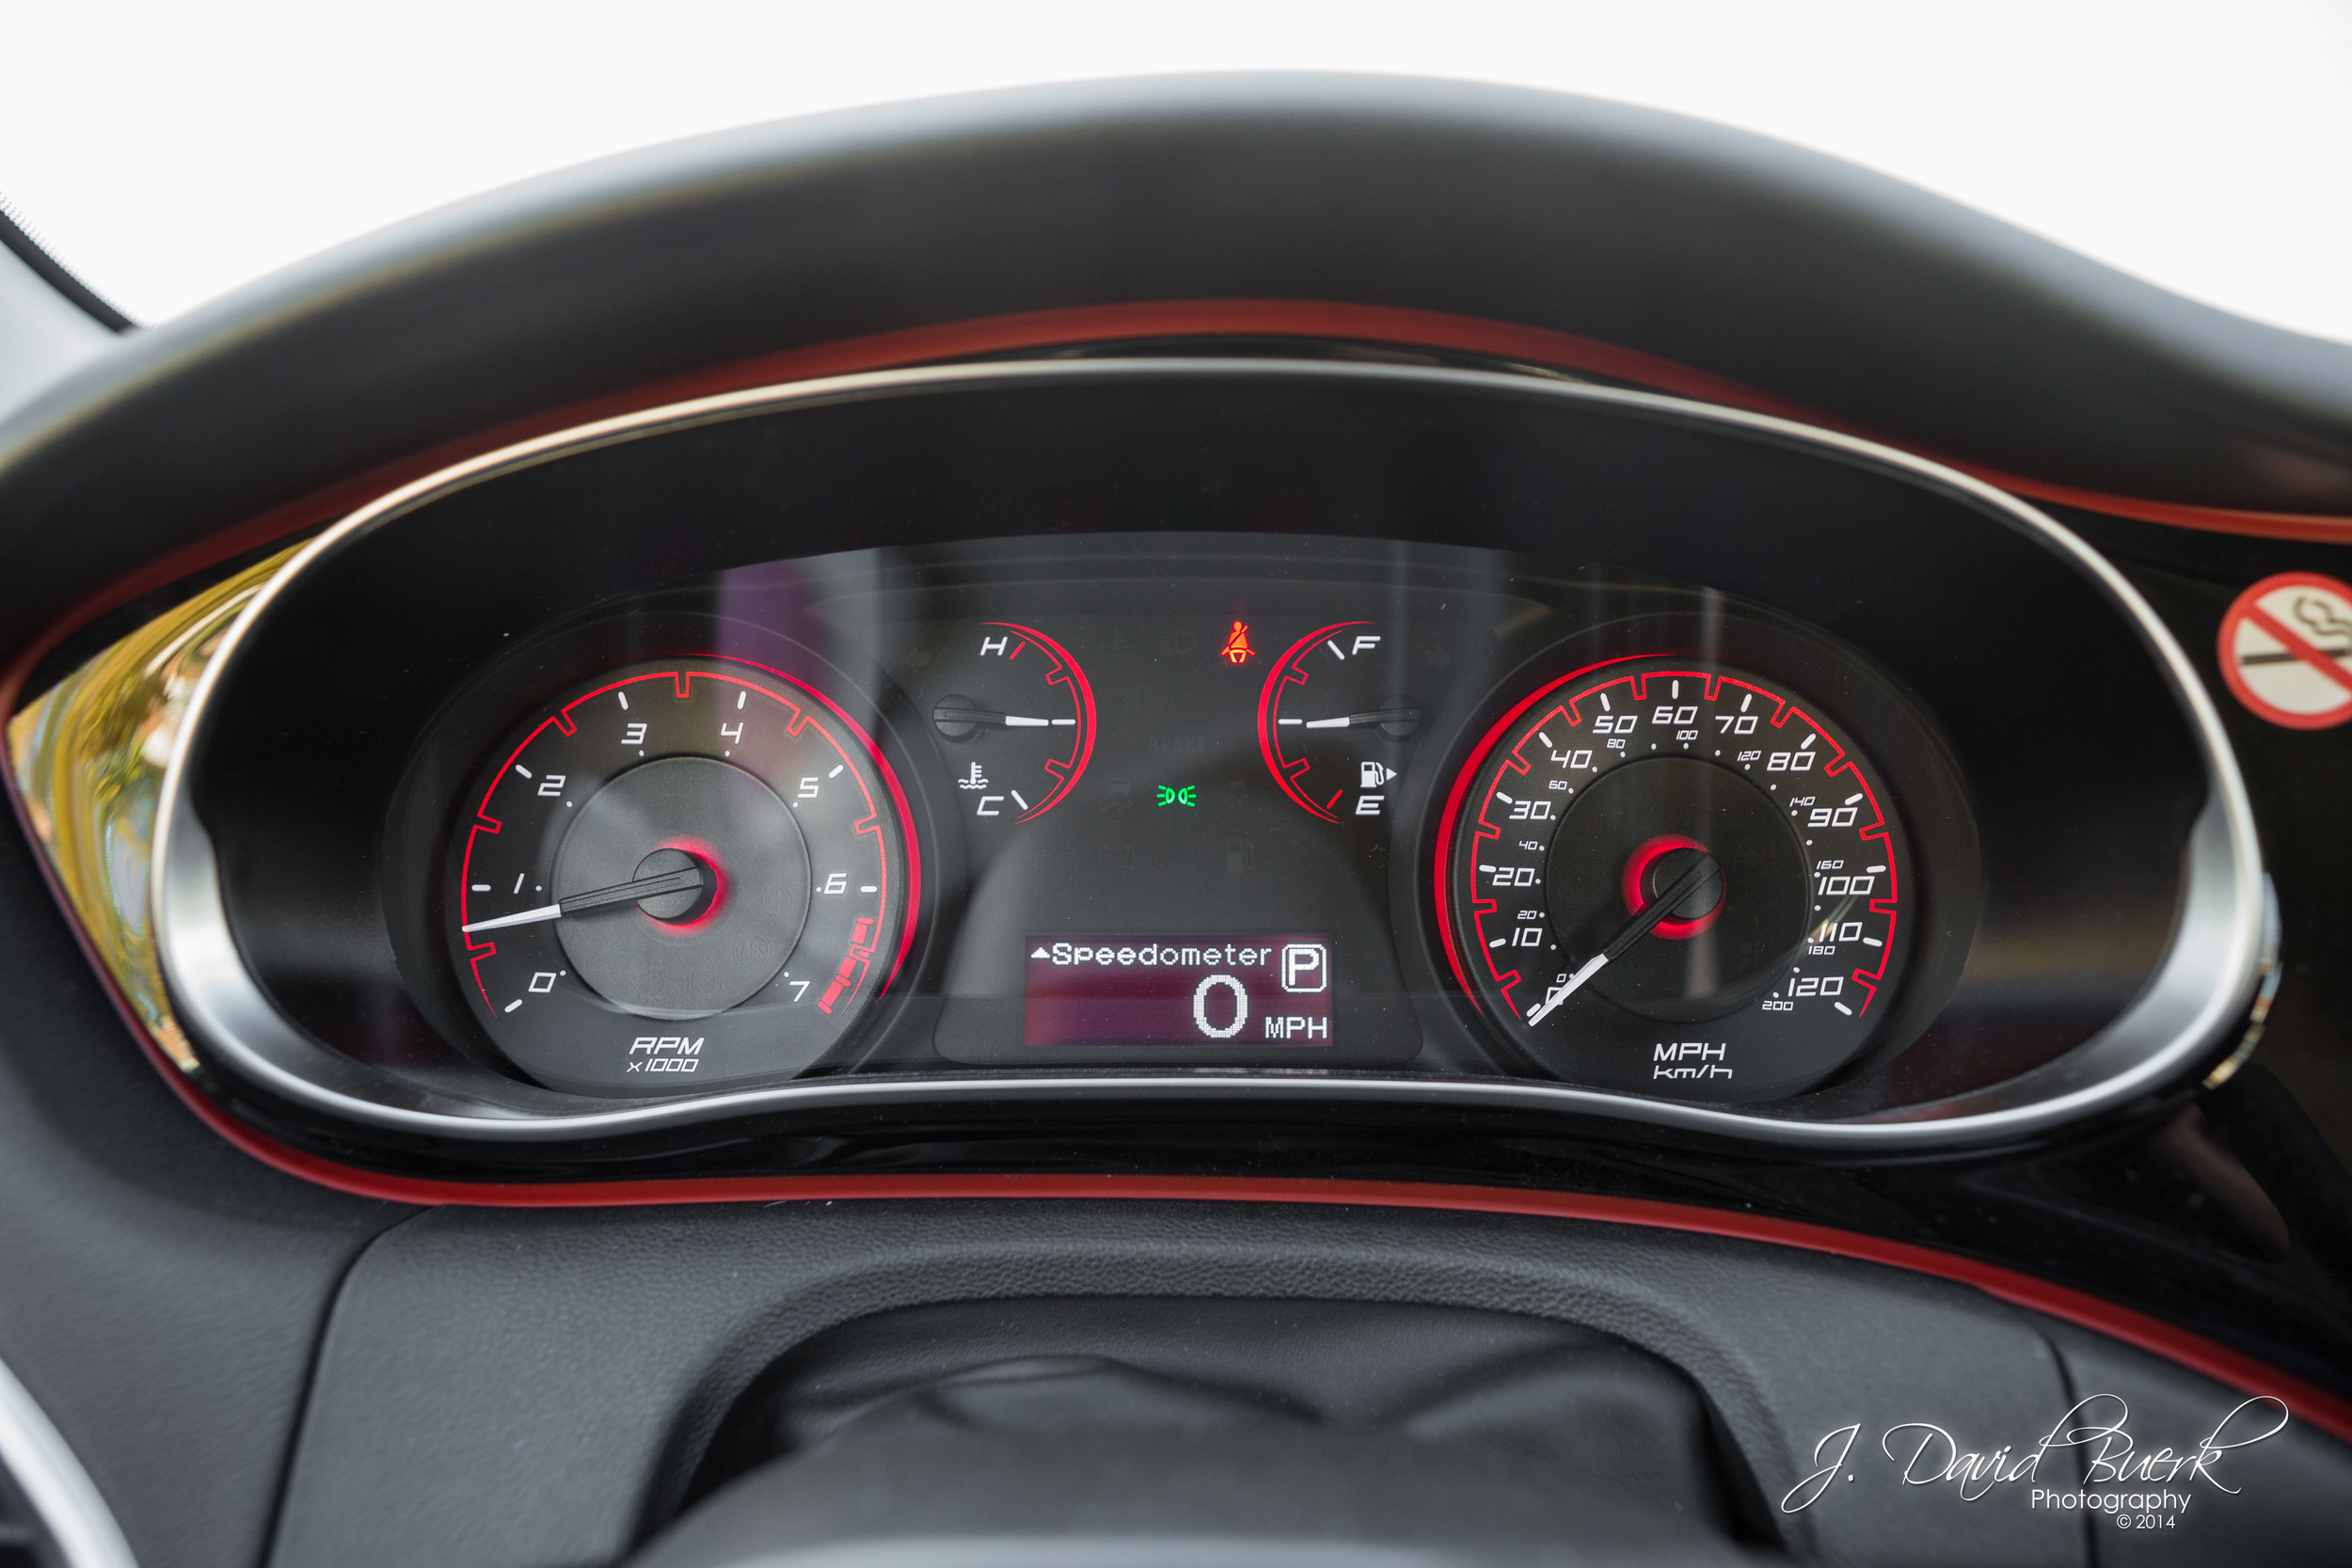
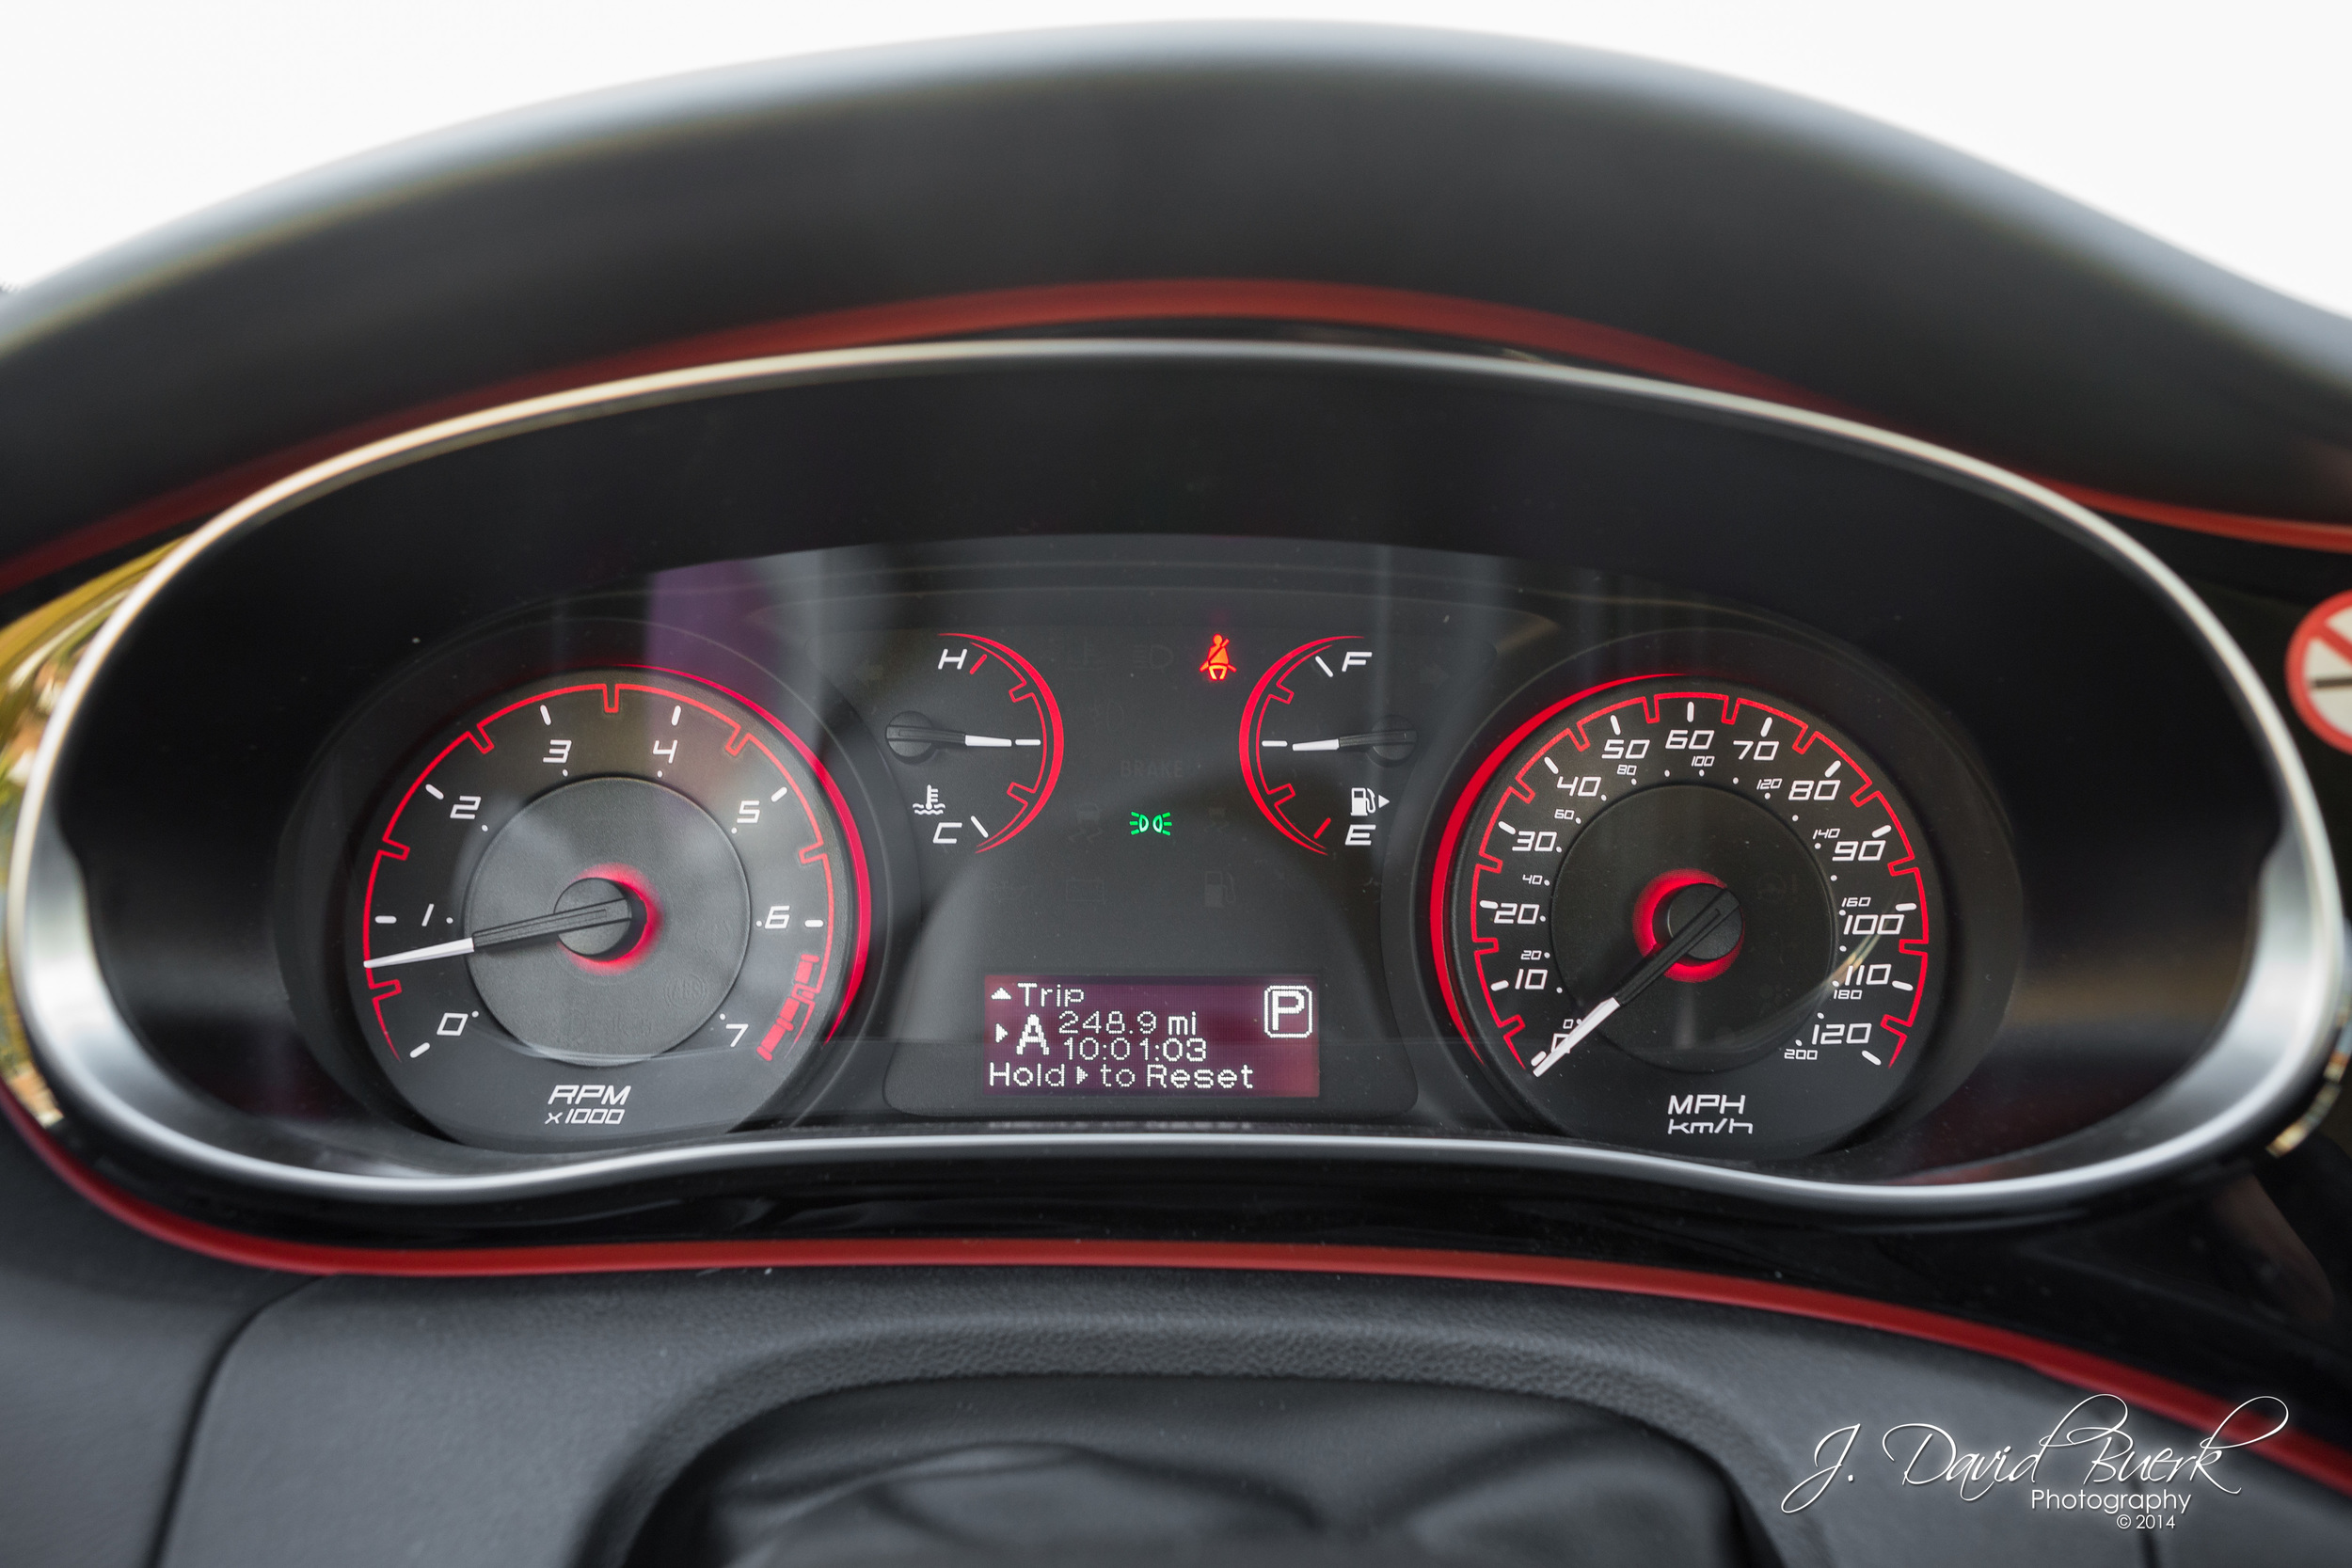
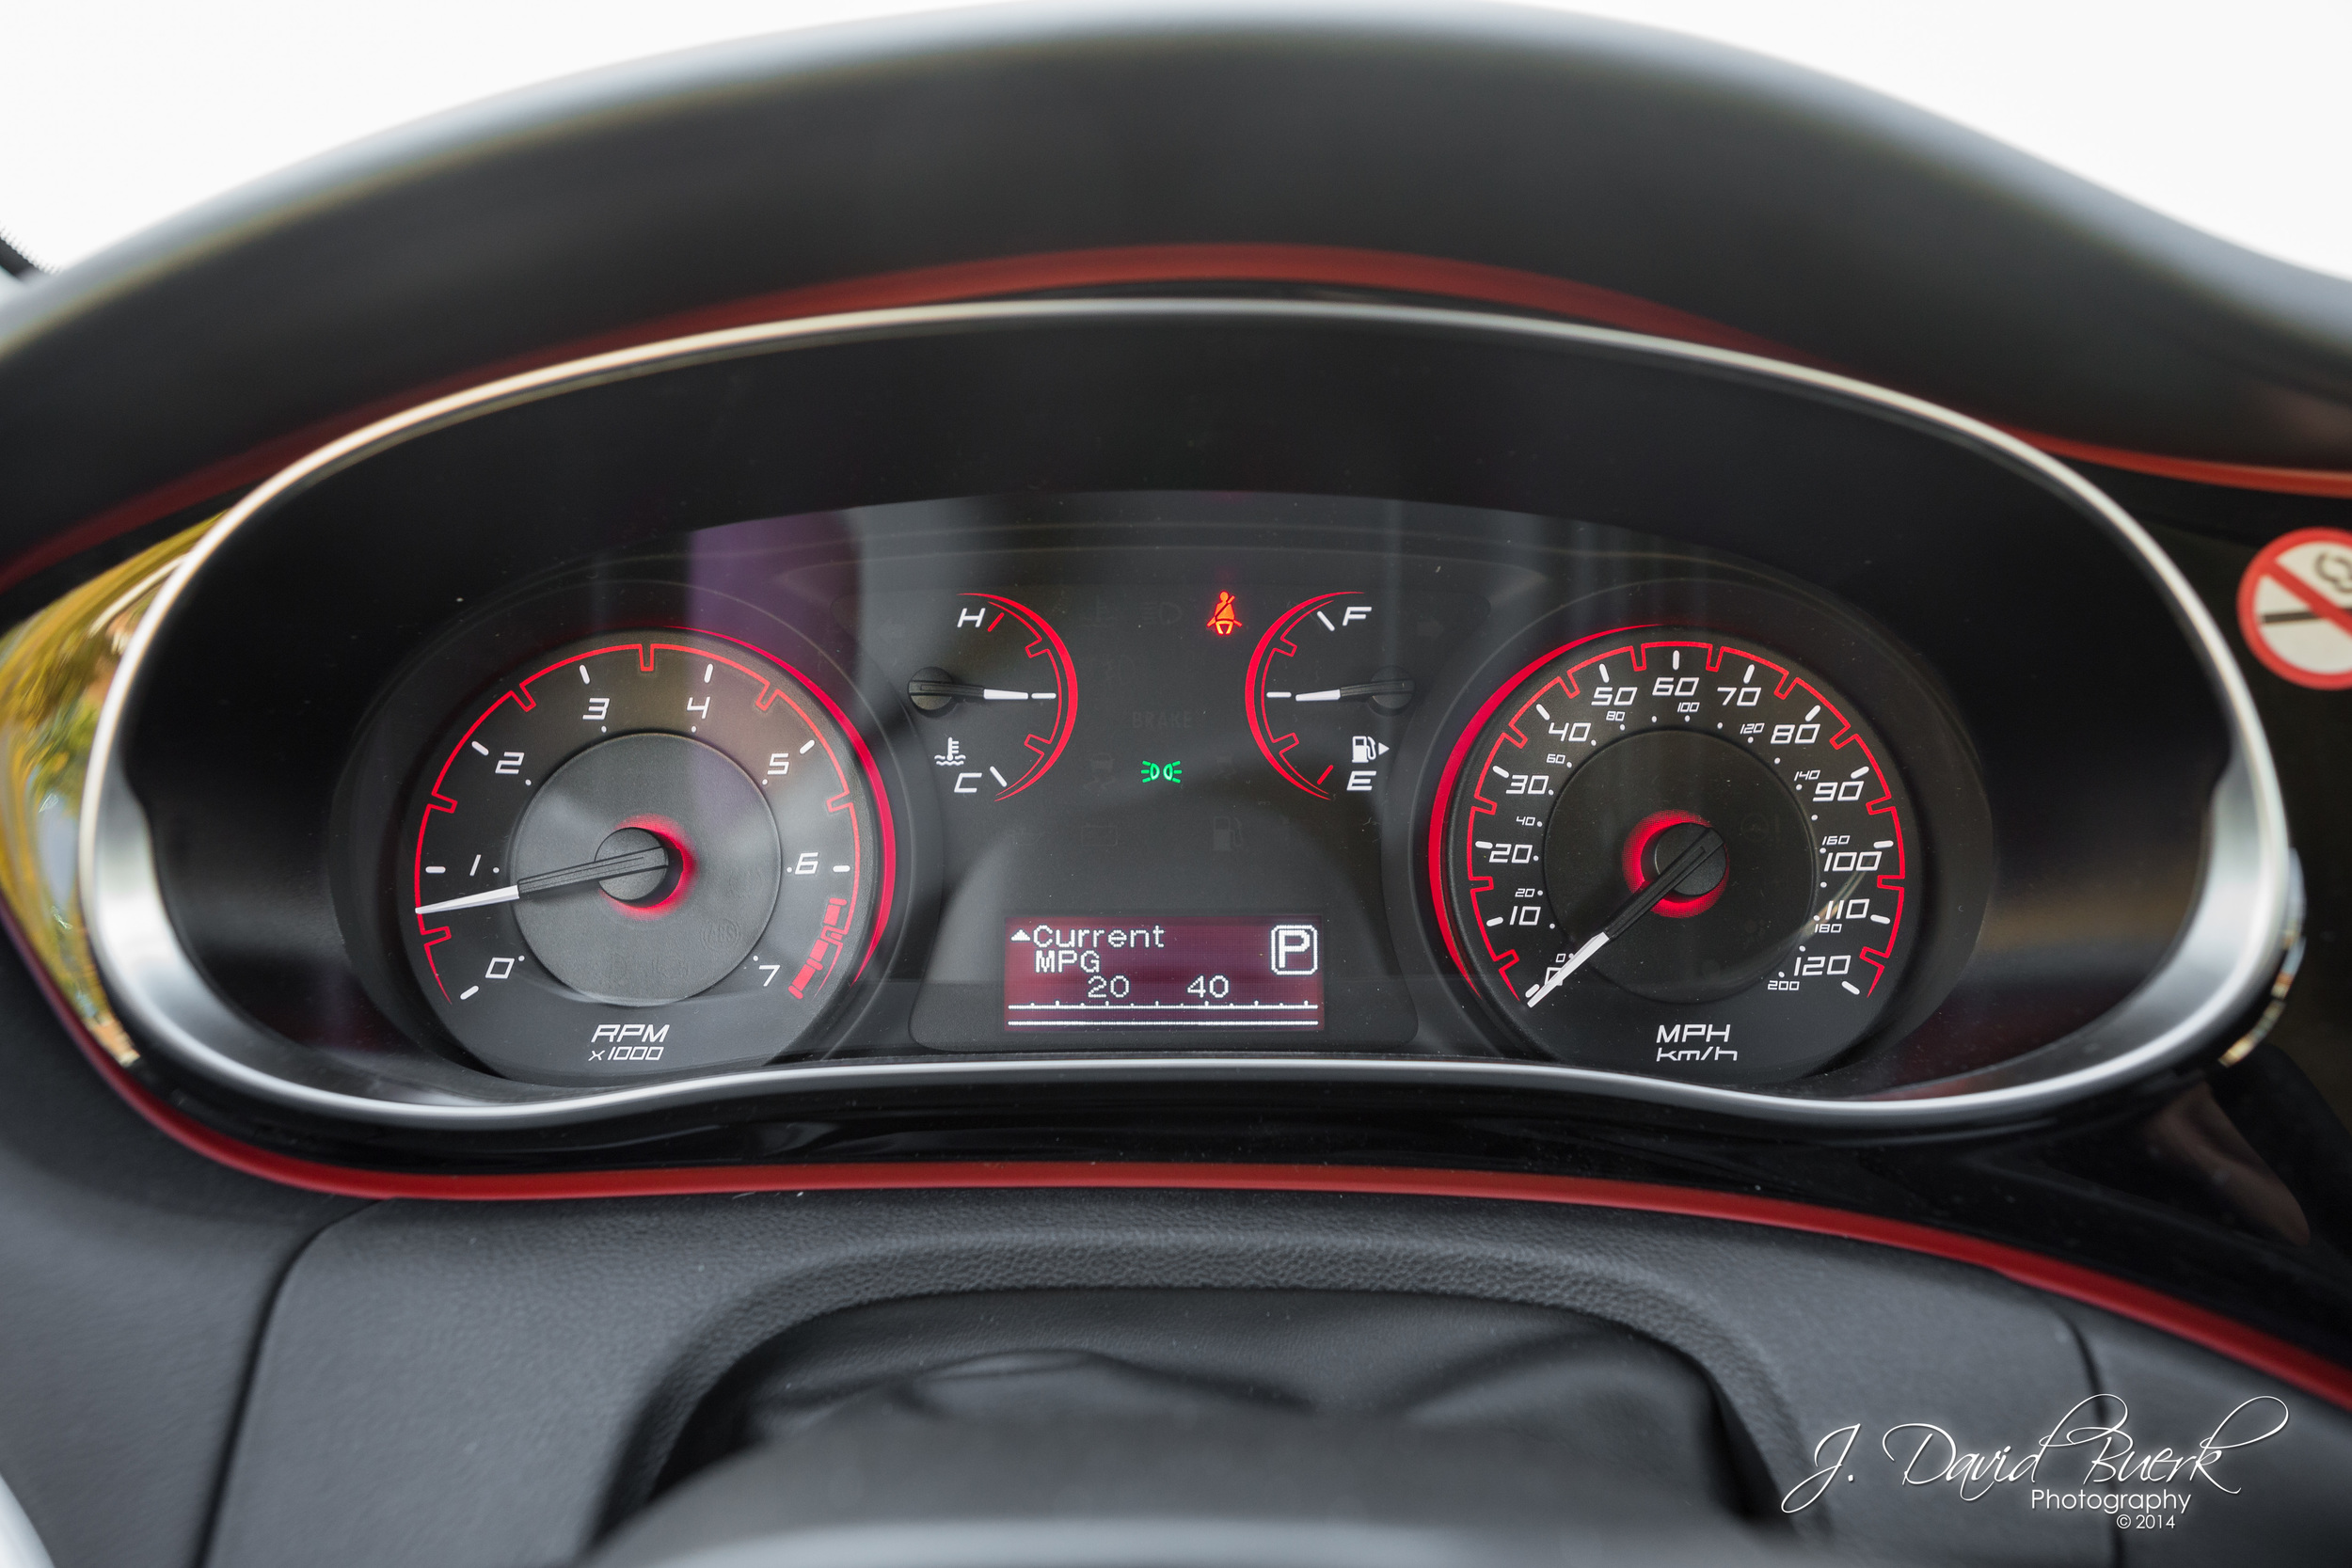
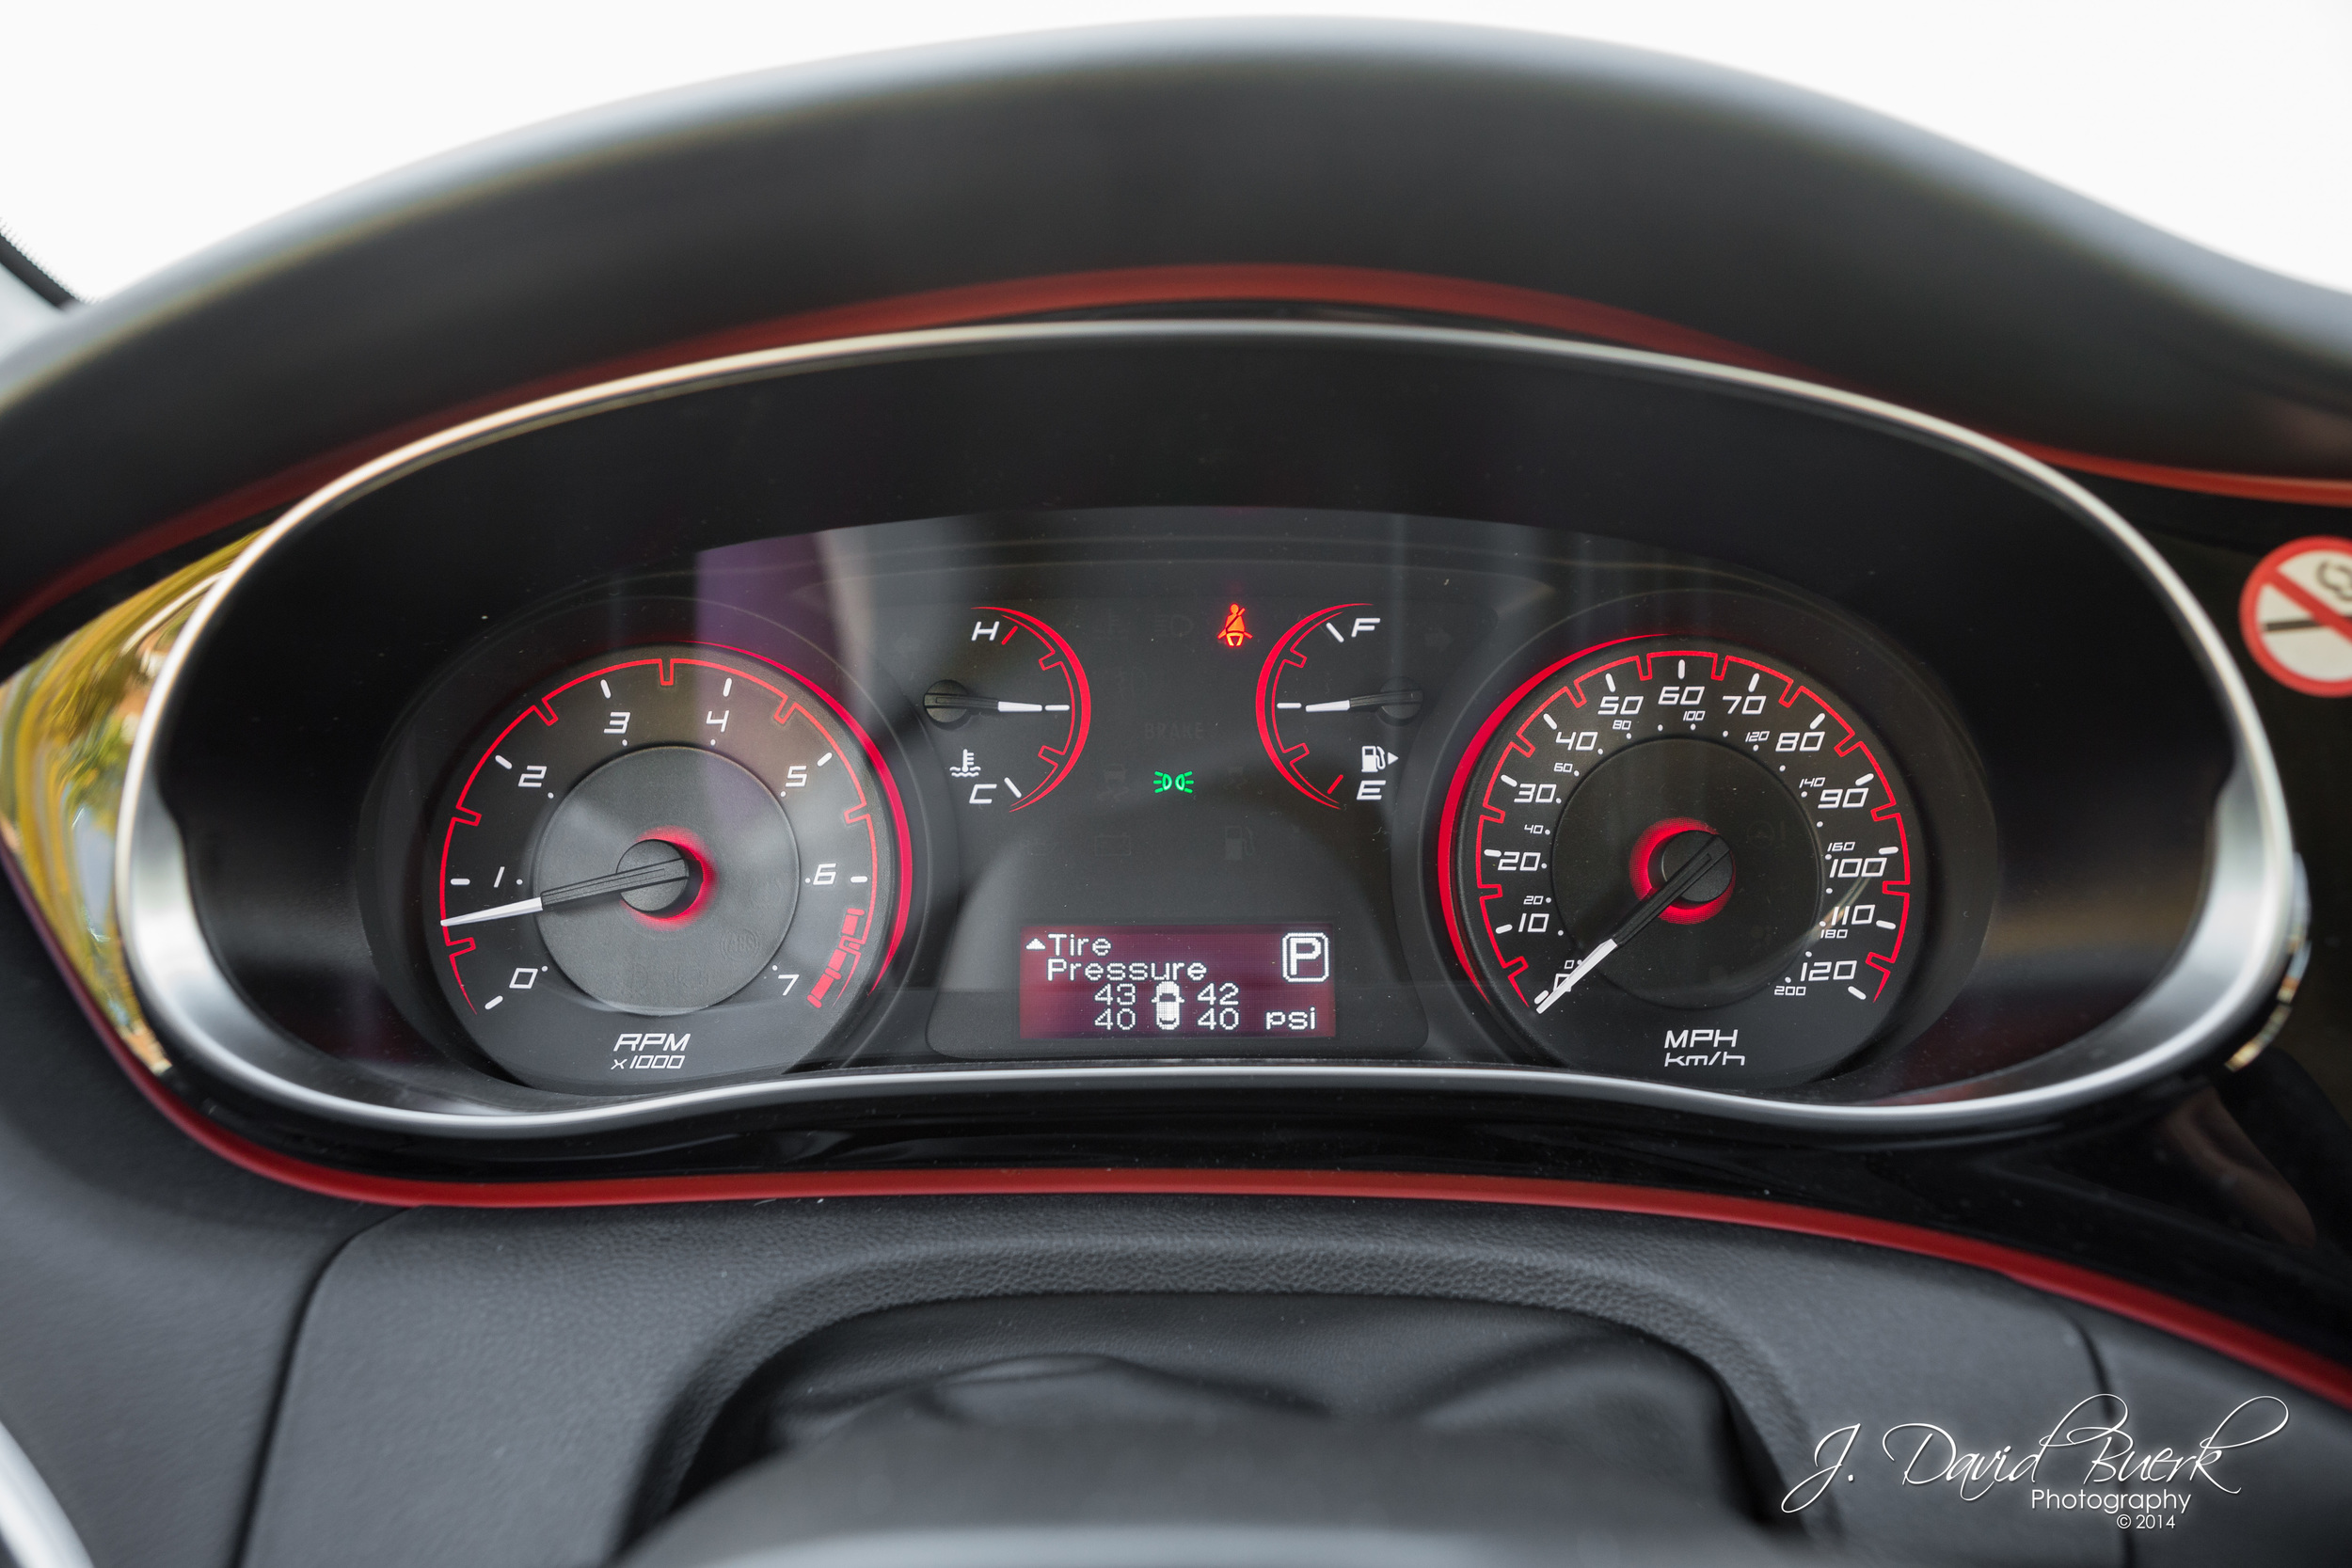
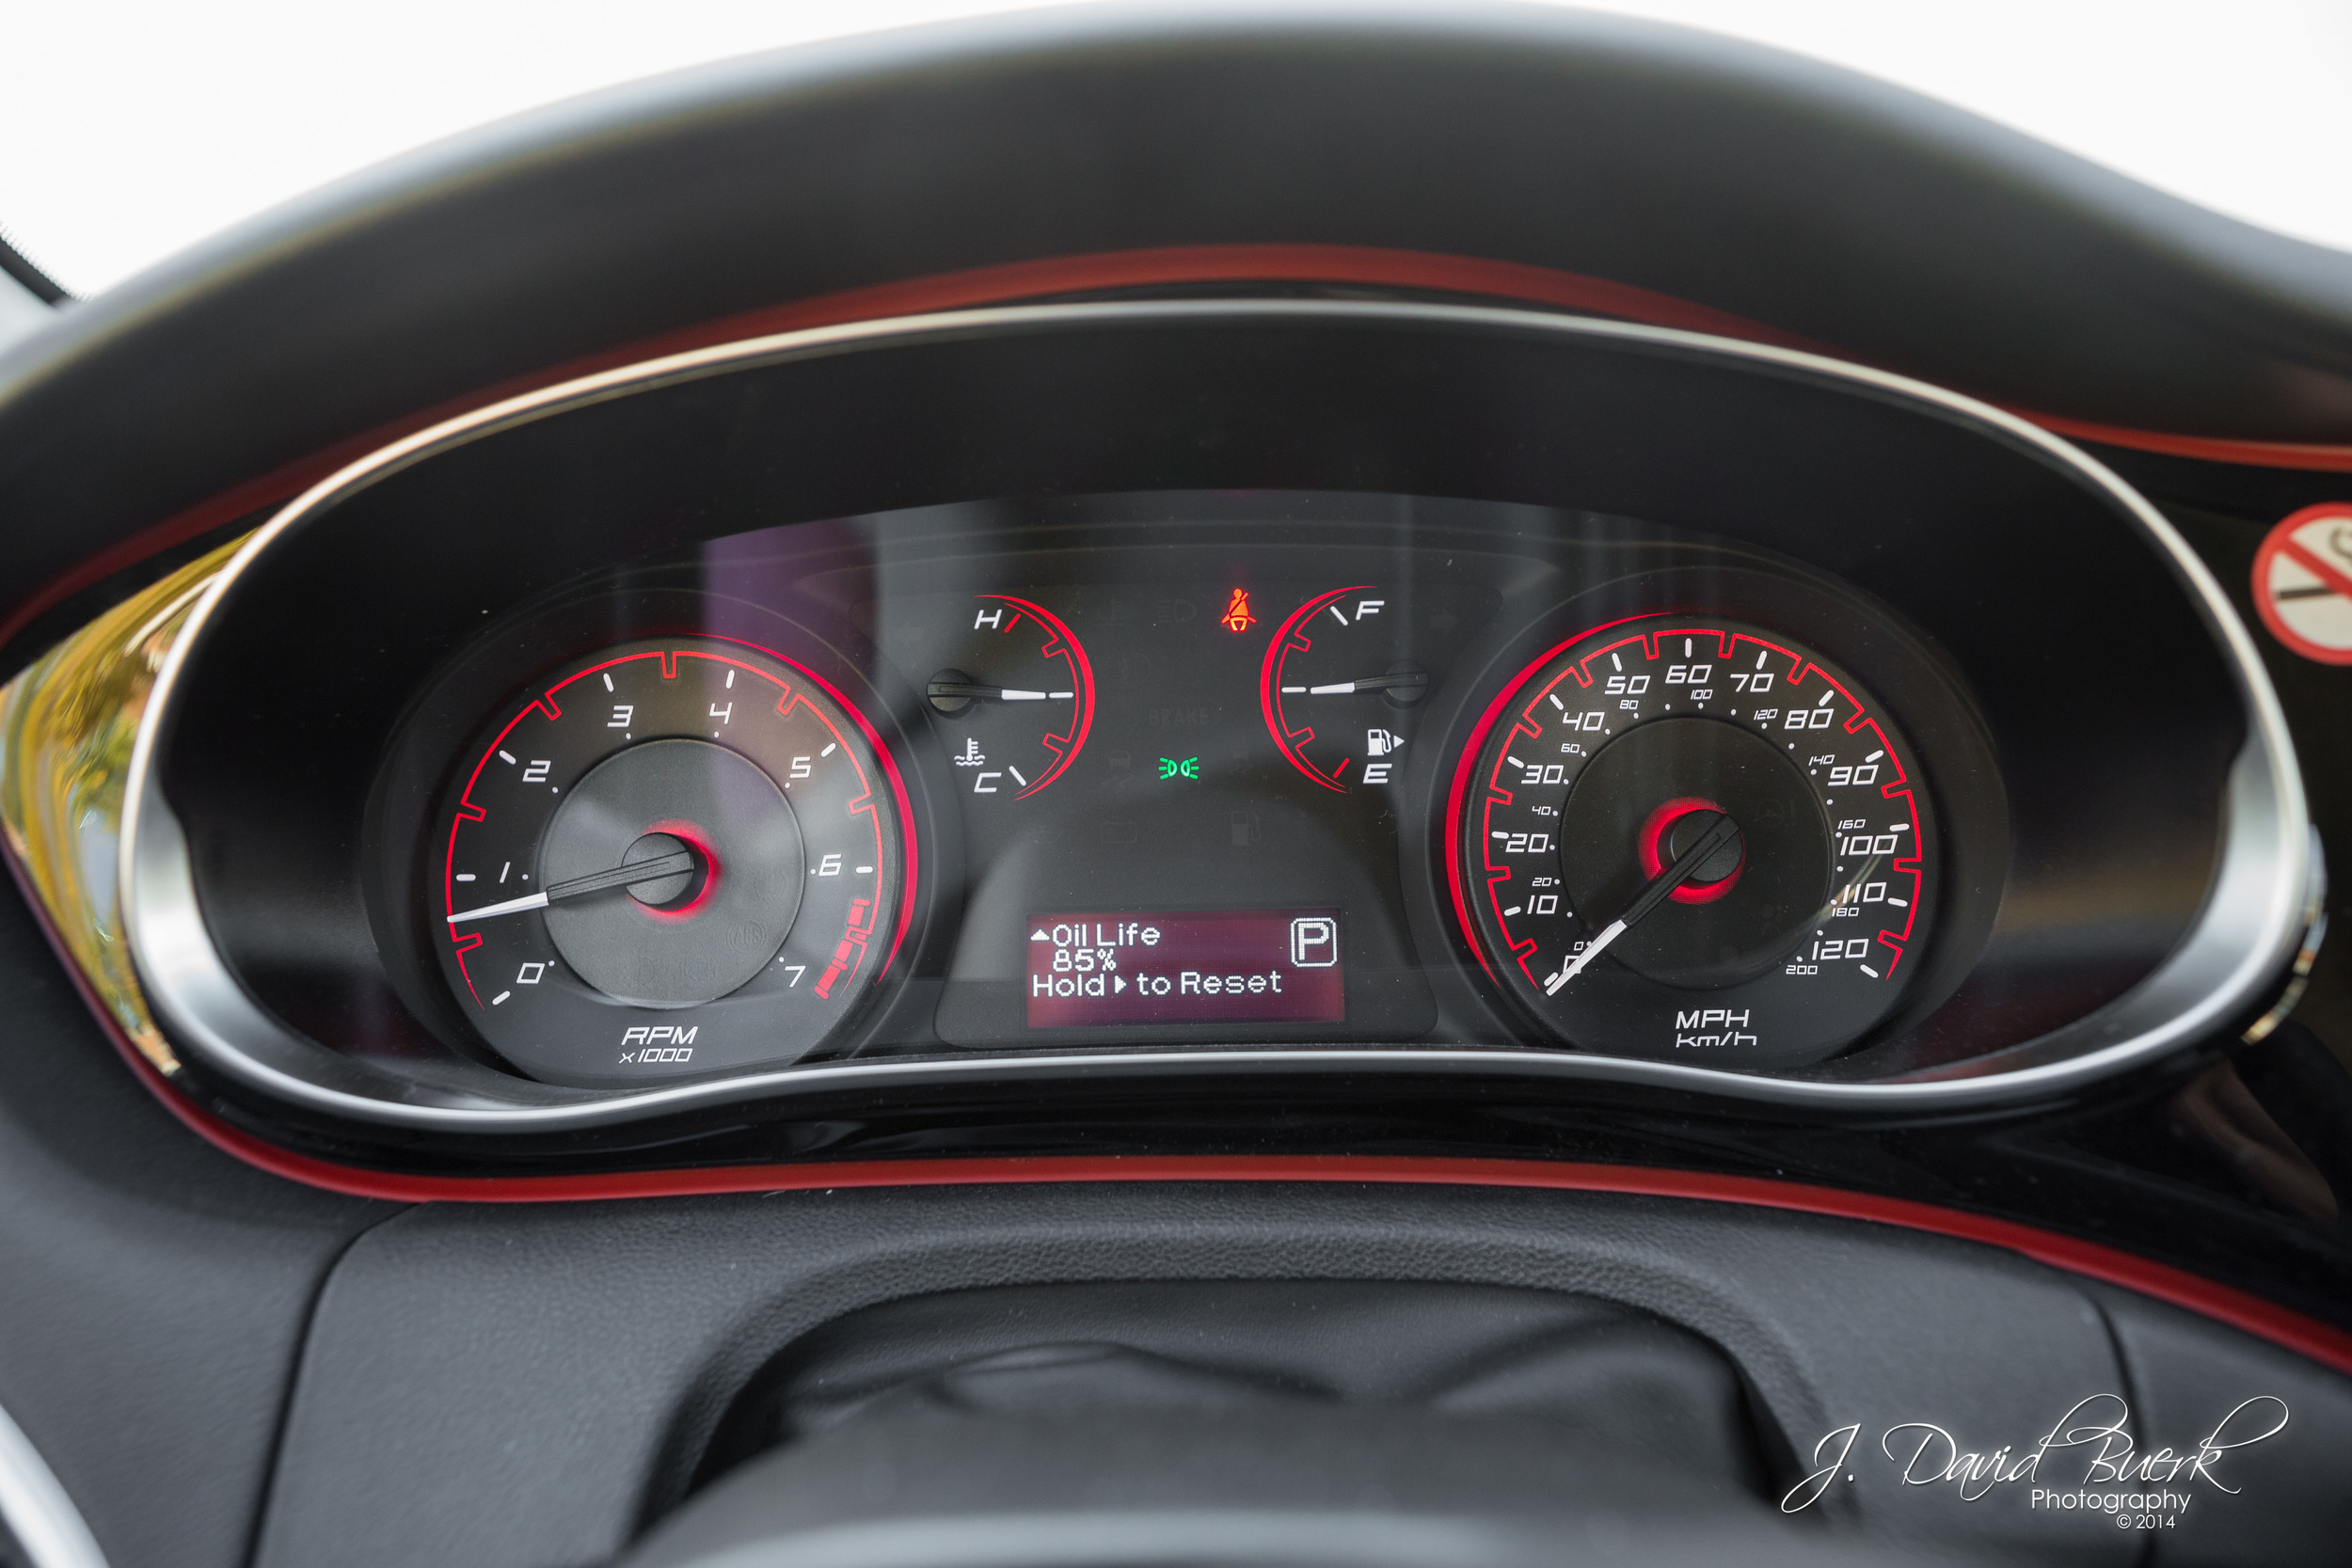
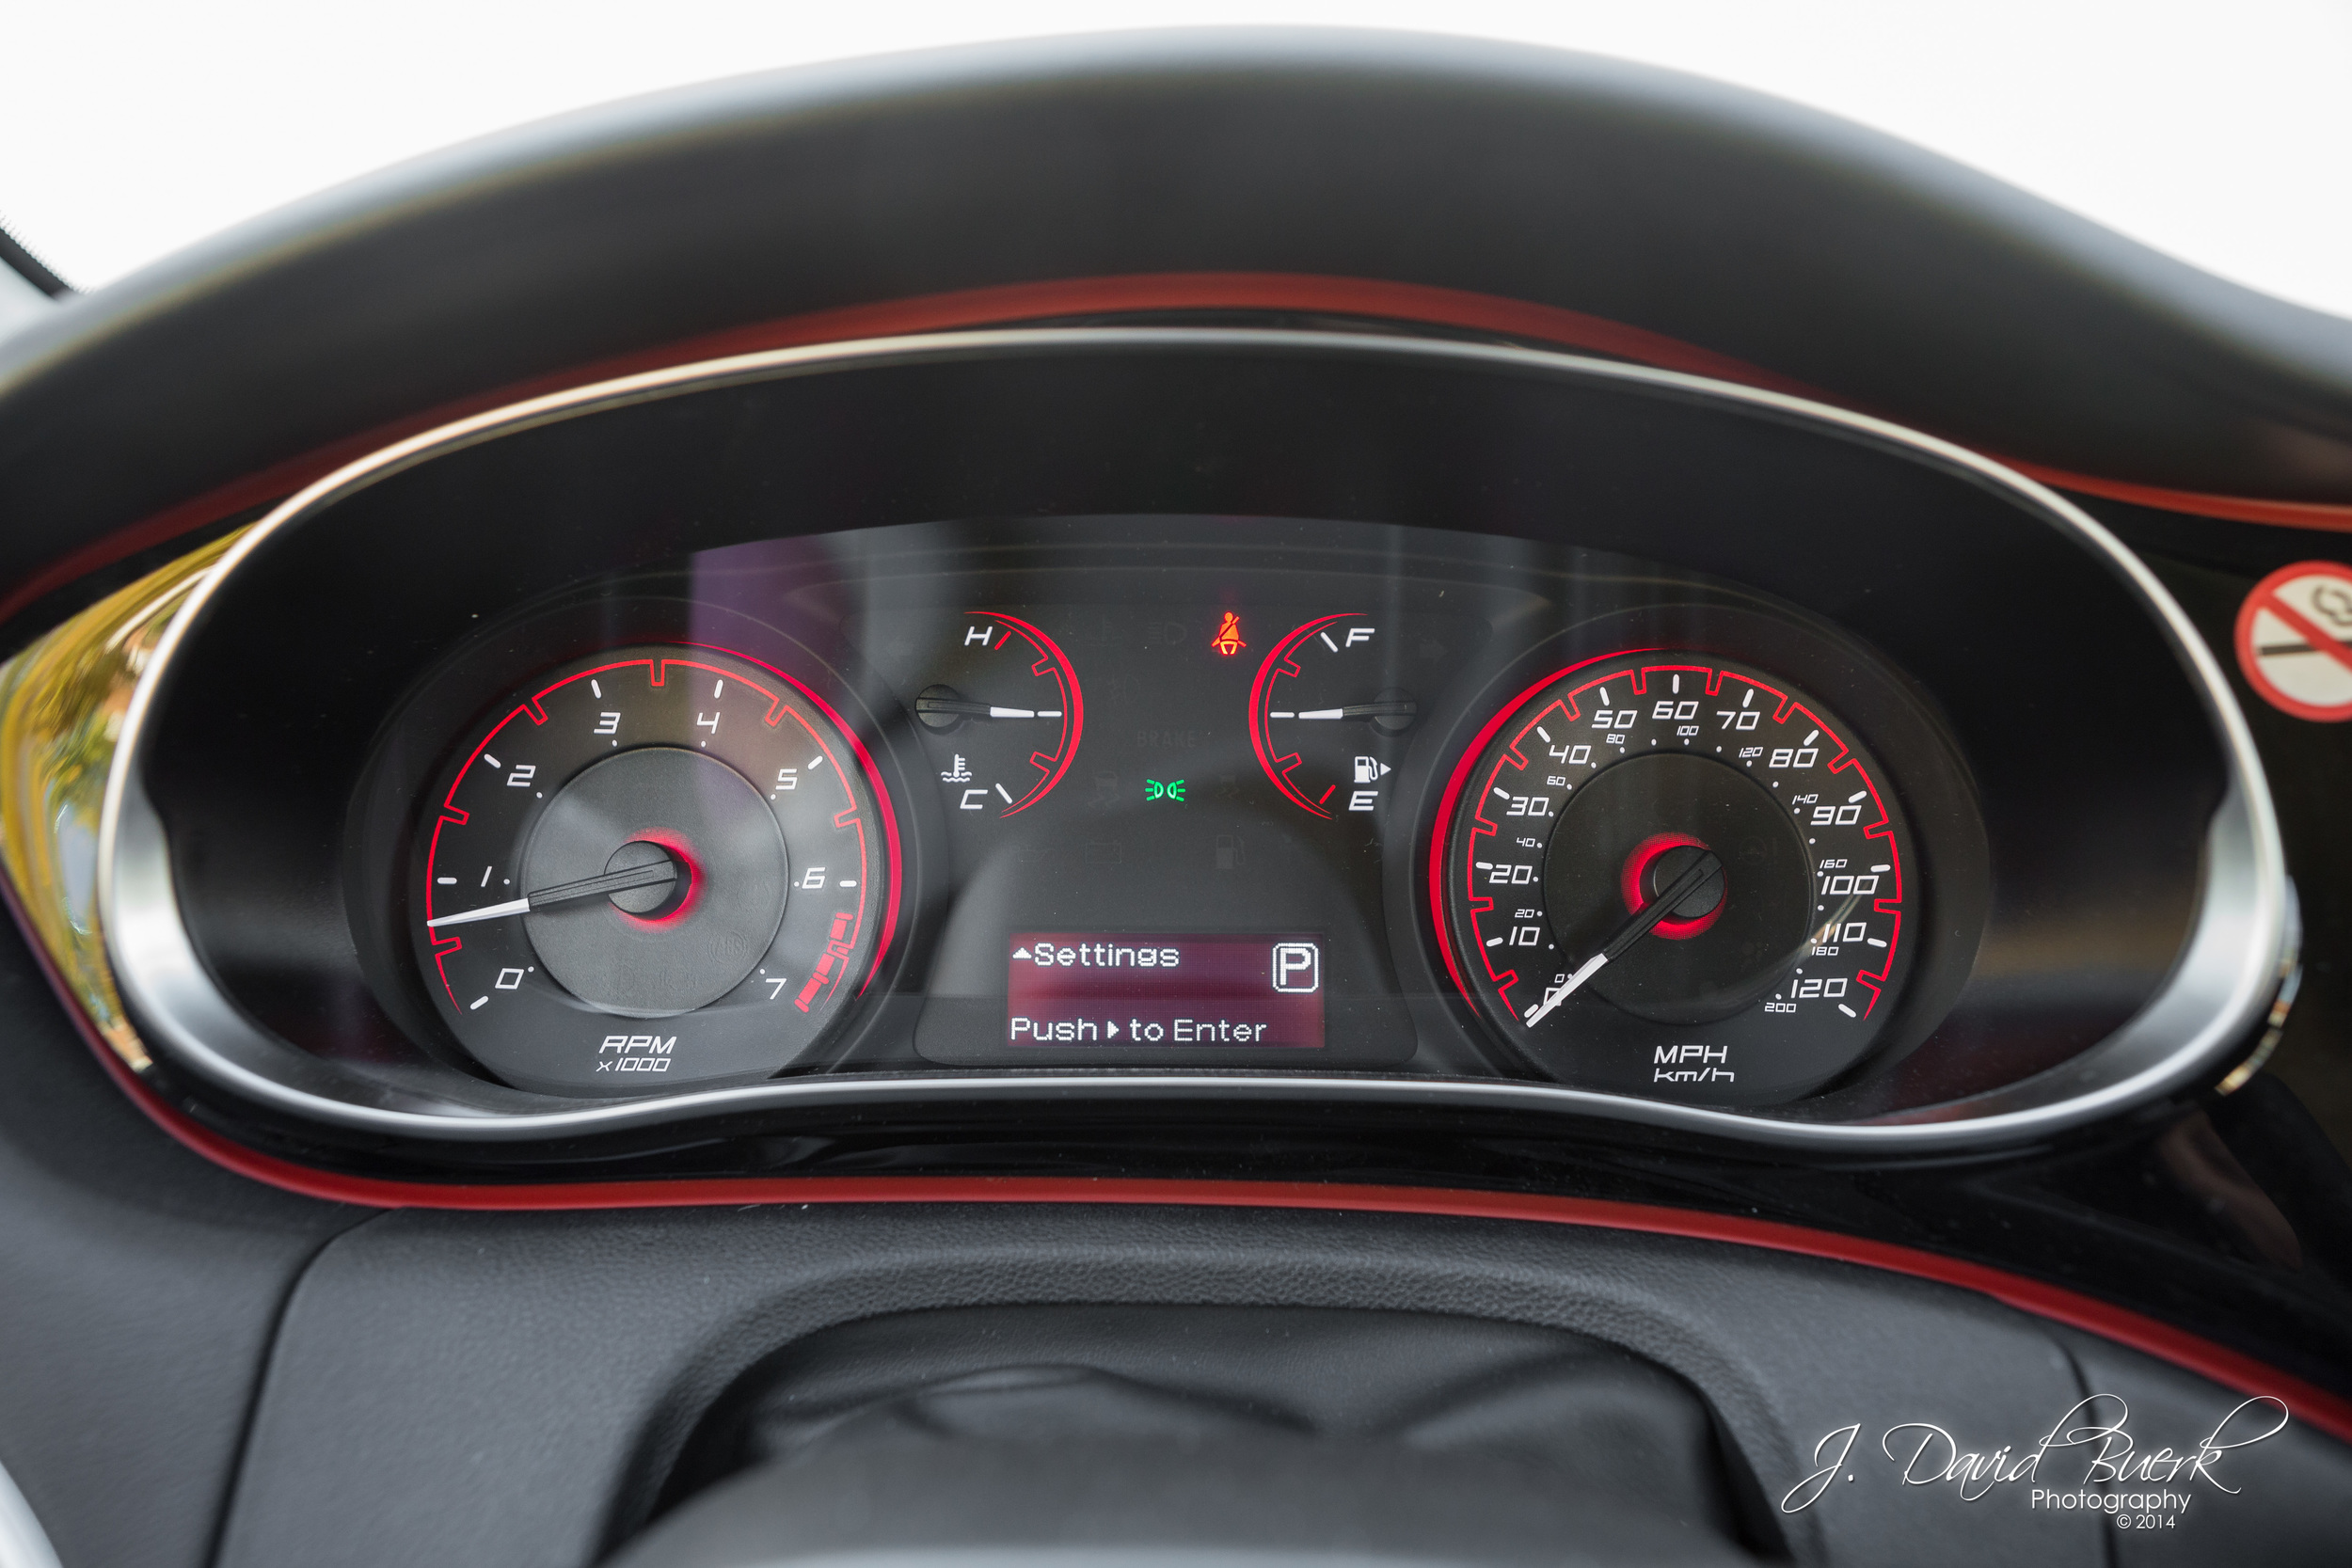
The steering wheel was 4 way adjustable, and had now standard controls which were easy to find and use.  The dash display had 7 screens which included Speedometer, Trip A & B, Instant MPG, Tire Pressure, Oil Life, Settings (Push to Enter), and Outdoor Temperature / Odometer.  The dash is brightly lit for easy visibility, but not too bright, or distracting / painful to look at.  The red dash surround does NOT illuminate.

Shifting was smooth with the firm and convenient shift knob.  Using the AutoStick was a breeze, and I was very pleased to see that pulling aft upshifted and pushing fore downshifted.

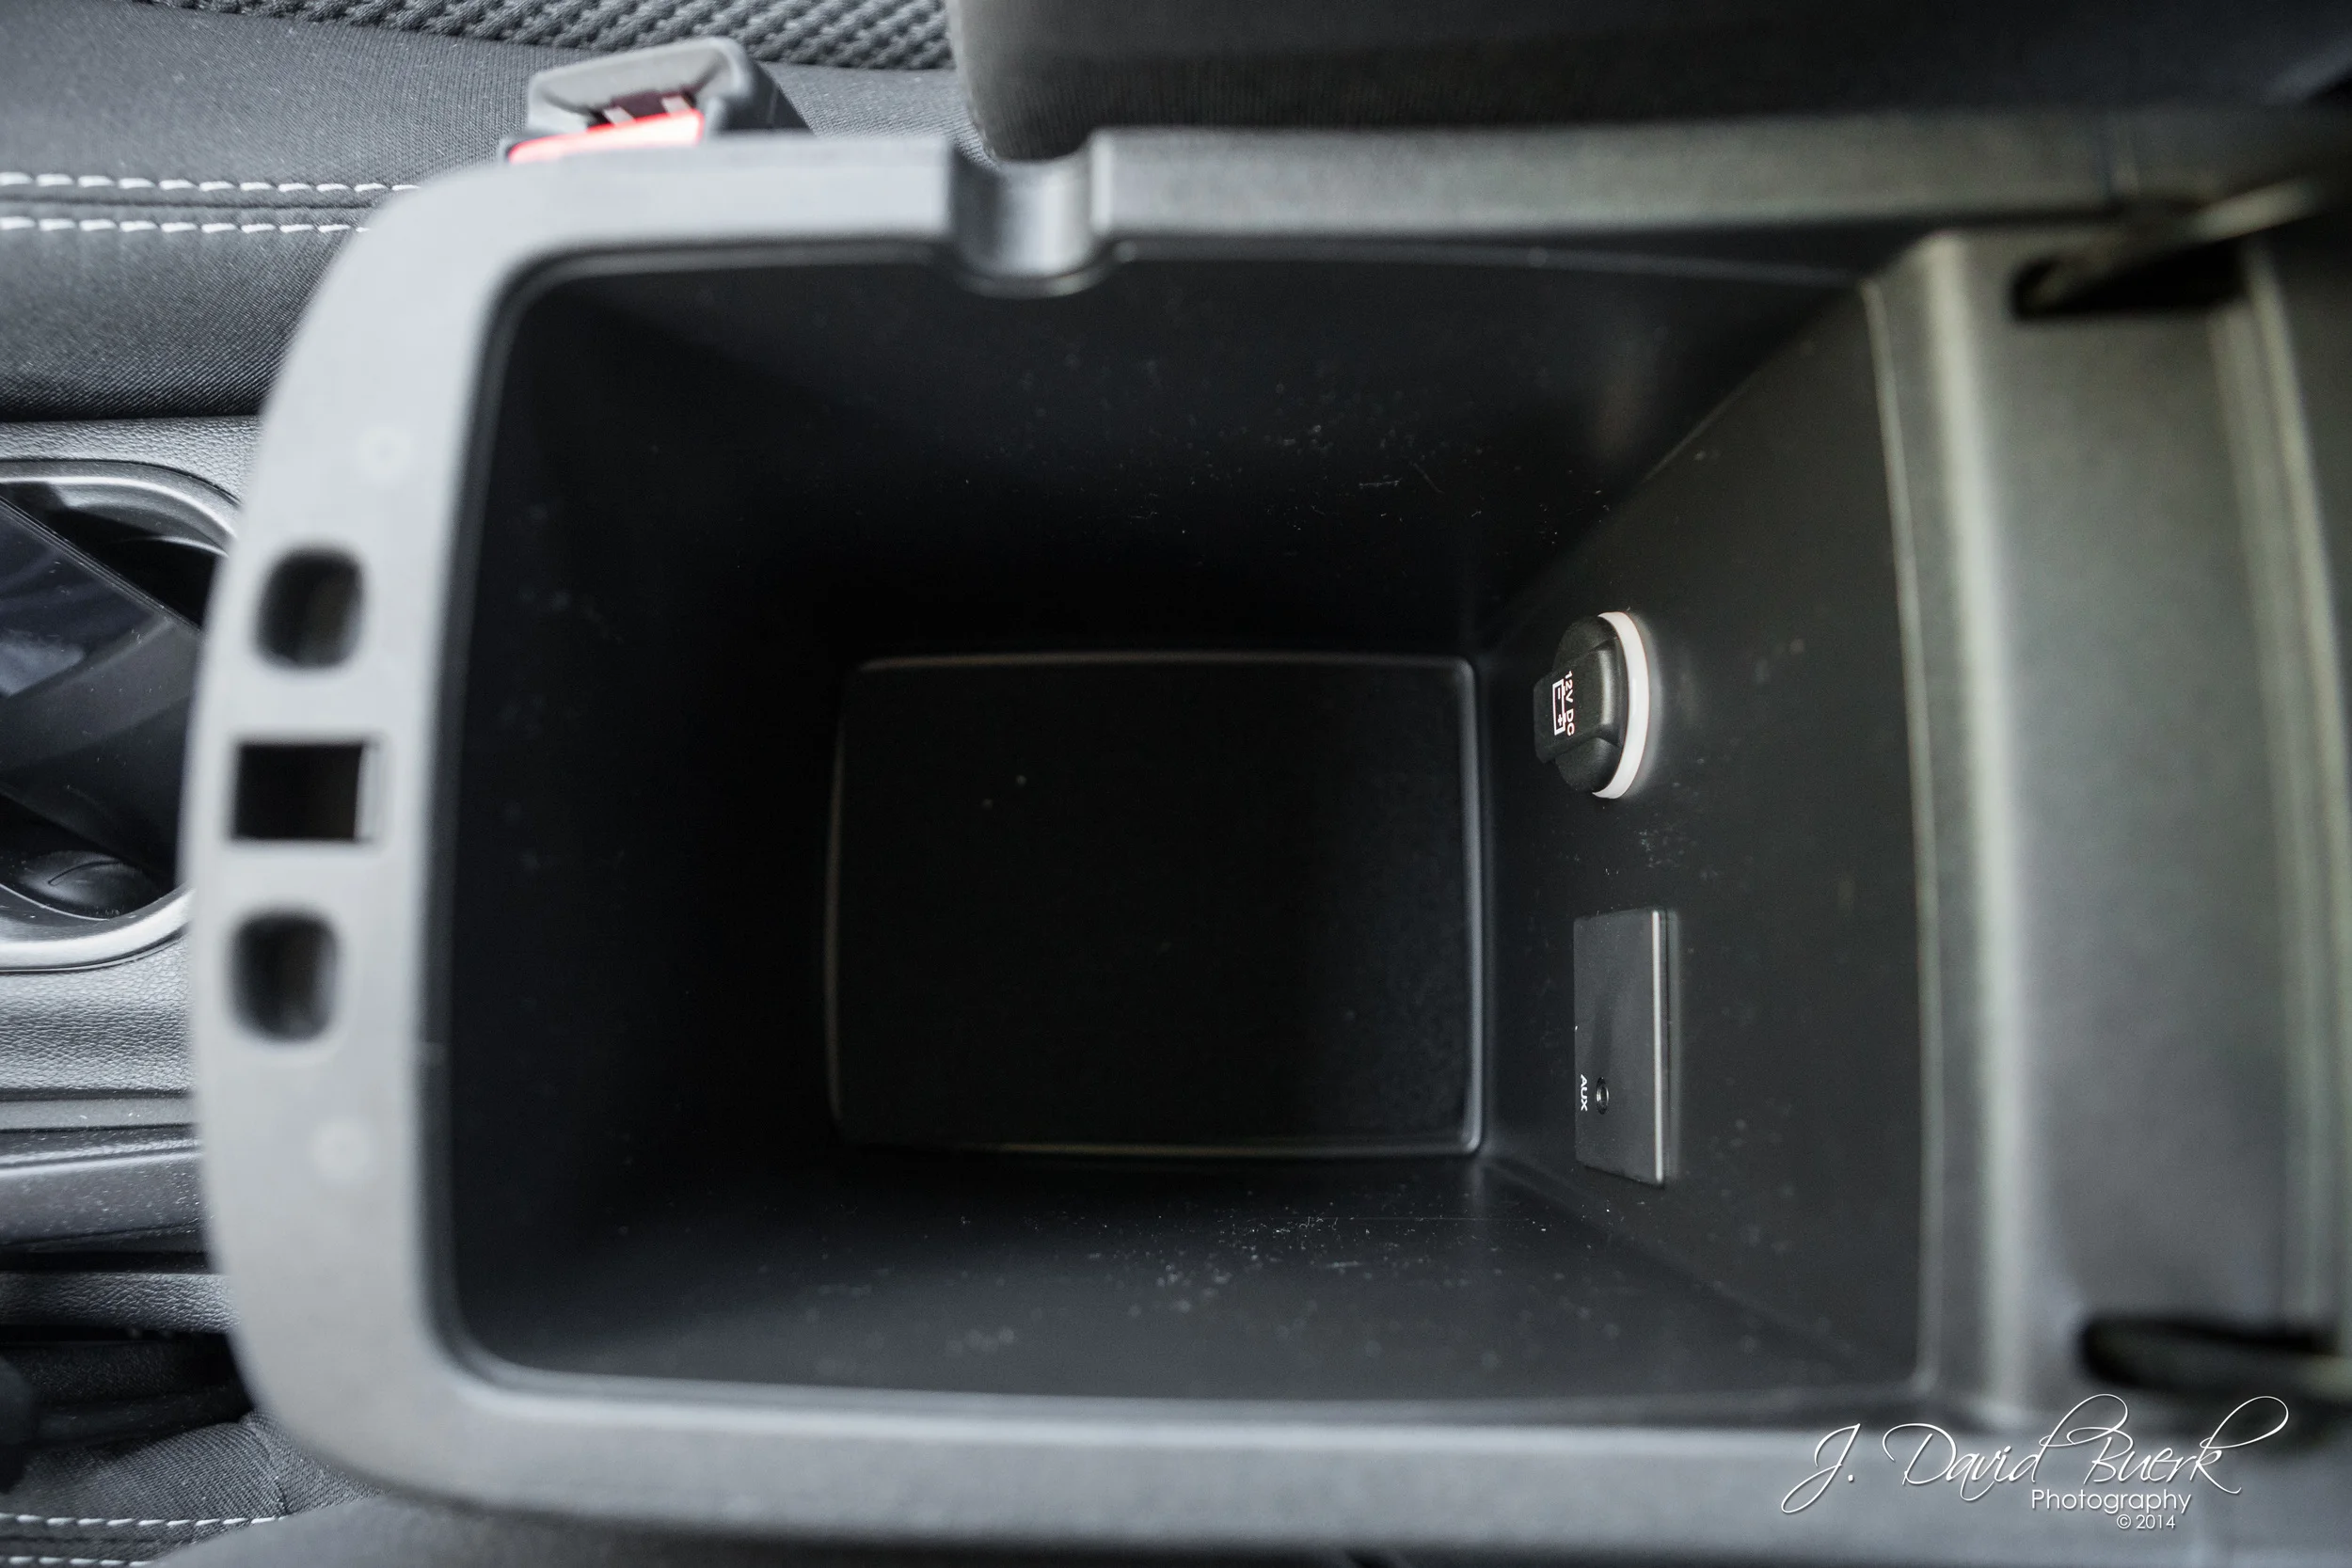
Plenty of storage is provided between the tray, which easily held my wallet and bluetooth, cupholders, and under-armrest storage bin, which also contained a power port and the AUX stereo connection.

The cupholders worked well, gripping drinks with rubberized bubbles along the outside.  Feeling these bubbles, however, indicate to me that after a few years of use, the rubberized plastic they are made from will surely crack and gradually deteriorate, particularly with prolonged heat and sun exposure.

I was shocked by how cavernous the glovebox was.  In the front tray I was able to place my iPad Air, plugged in, and easily close the glovebox.  Behind this front tray is the bottomless abyss - a storage hangar for your gloves, and probably an entire laptop if you really wanted.  I still can’t get over how large this glovebox was.

The rear view mirror contains the microphone for UConnect, and the largest safety concern I had with the car:  THIS CAR HAS A HUGE REAR BLIND SPOT.  It could be a lot worse, but I’ve driven a lot better.  The rear view mirror was manually dimming.

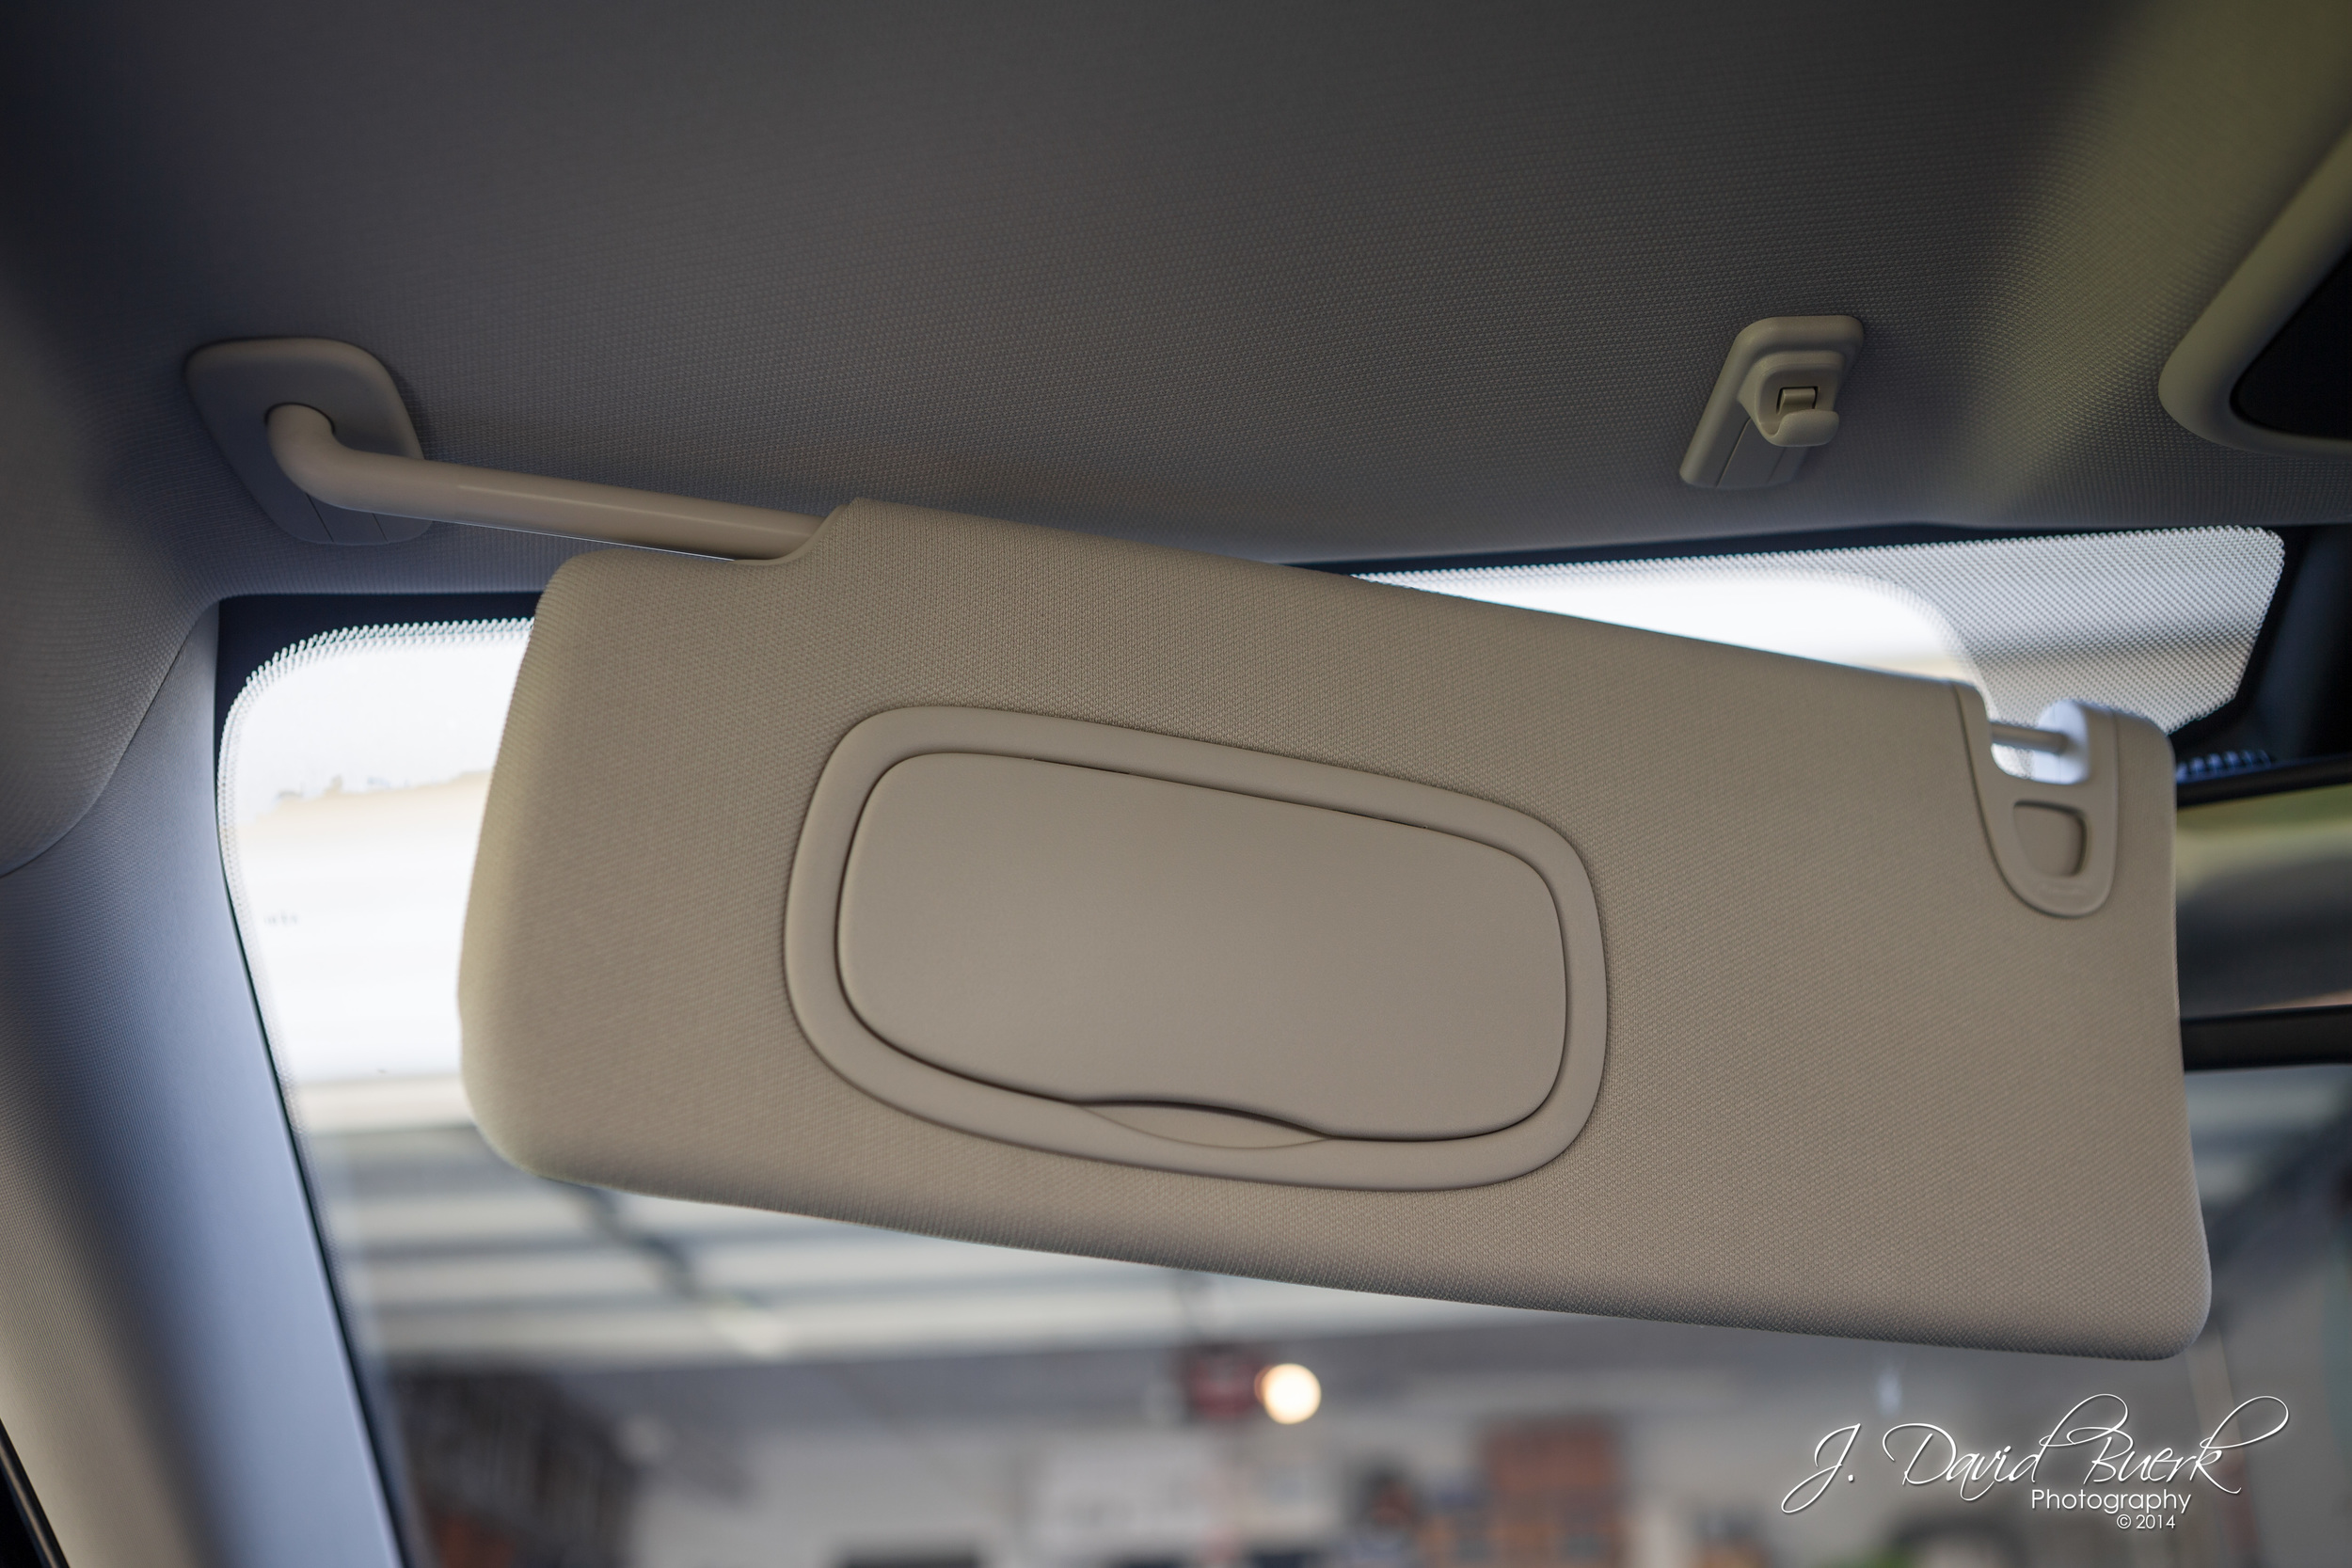
Sun visors had small, illuminated mirrors, and a surprise!  I didn’t expect it, but these visors also extended out on their arms!  Even in the retracted position, however, there was not enough headroom to avoid hitting oneself in the head when rotating the visor to the side window.  I’m not super tall at 5’8” either.

The door panel held the usual controls.  The only thing I found odd was that the mirror Left / Right selector had no off position, meaning if you bumped the 4-way pad, you're guaranteed to move one of your mirrors.

Honestly biggest interior complaint was the seemingly thoughtless placement of the trunk release.  I’m sure with extended ownership it becomes easier, but in the two weeks I had the car, I struggled to find that little button every single day.  It sounds silly as I write this, but this truly drove be insane to the point that I usually just resorted to hitting the FOB's button.

The back seat was also comfortable, and surprisingly roomy, although I never rode in the back seat.

Rear seats fold down to allow extra cargo storage, and the center armrest features a passthrough for smaller elongated items.  The rear armrest also contains a storage tray and two cupholders equivalent but shallower than the front’s.

Each rear seat also had the compact headrests we have all come to know.

Trunk space was bountiful for a compact car, and a temp tire and changing kit was nestled underneath.

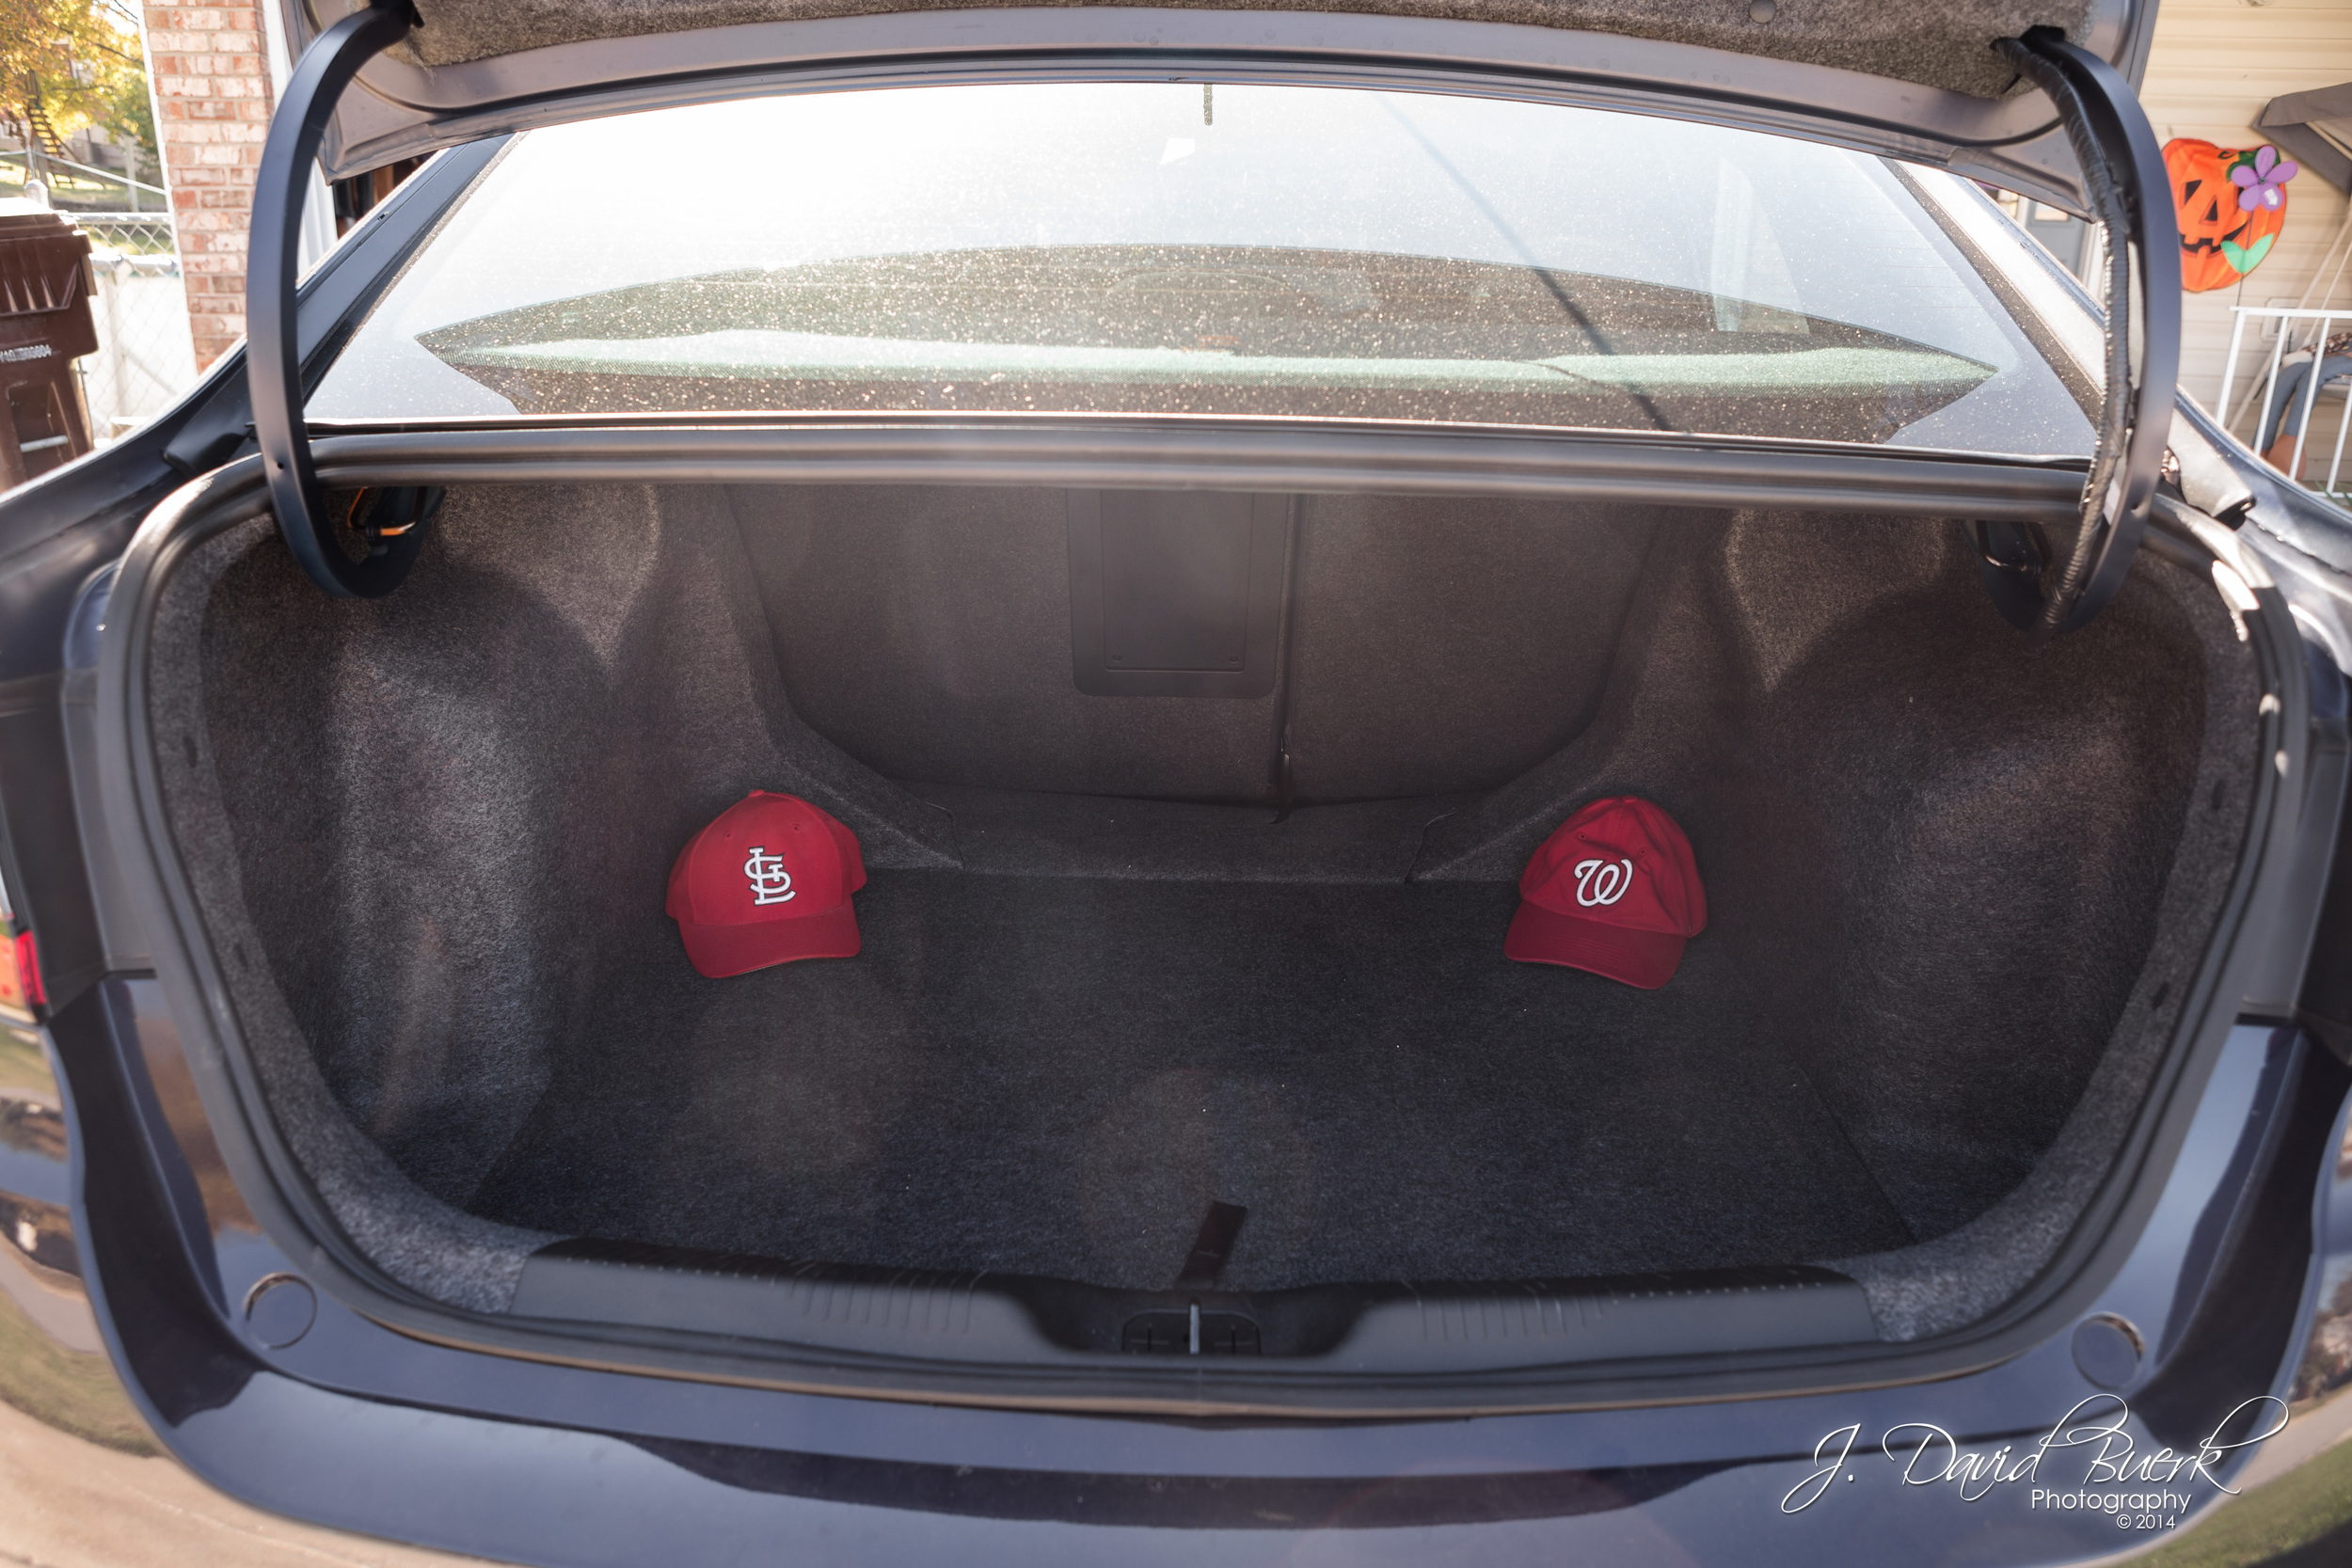
Dovetailing with the exterior, the trunk does not have any handles or straps to grab onto when closing - for car guys, this is huge; it means you have no choice but to smudge your paint or leave dusty imprints on the exterior of your car.  This is such a simple design element; how was this overlooked?

When opening the trunk, it pops open about a foot.  Some may like this as it prevents your stuff from being exposed to rain and nosy peeps, while others may want the quick access of a trunk that opens all the way - I like it as-is.

Acceleration: 8 / 10

SXT Darts have the largest engine option of three; the 2.4 L I4 Tigershark MultiAir 2 which outputs the most power, at 184HP, but falls to second in terms of torque, at 171 ft-lbs.

Make no mistake; this isn’t a super fast car, but it certainly feels it, and definitely sounds fast.  At idle, the single exhaust SXT is near silent, but blipping the throttle, it extorts a loud, buzzing, belch.

Impressively, some wheelspin was allowed, even with TCS engaged.

Manually selecting 1st gear and slowly cruising through neighborhood at just 10MPH gets you a mean enough exhaust note that will earn you dirty looks from onlookers; the type of glare that says, “Hey, I have kids that play on this street - slow down, asshole.” as you just stare back creeping along, your eyes saying, “Hey idiot, I’m going 15 under the limit - it sounds faster than it actually is.  I'll keep off your lawn too."

Here you can get a sense of what the Dart SXT sounds like:

Please note that the video is NOT where I tested 0-60 times… but I did a few 0-60 runs with and without TCS.  Online, you will find numbers anywhere from low 8s to high 9s for the SXT; my results were pretty much in the middle:

  • 9.7s without TCS (wheelspin)
  • 9.2s without TCS (feathered throttle)
  • 9.0 with TCS

So, make of that what you will.

Also, here are two tidbits I was specifically asked about:

  • Idle speed is 700RPM.
  • 6th gear becomes available at, but not before, 39MPH.
  • Neutral limits revs to 4,000RPM.

I meant to keep track of gas milage, however between the rental company delivering the car with ½ tank and my topping the tank off and subsequently dropping it off with ½ tank, along with missing milage notations, I cannot report on the actual em-pee-gees I saw.  The Dart SXT is rated 24 City / 34 Highway with its 14.2 gallon fuel tank.  That may not be too far off, since I only used 1 entire tank of gas in almost 2 weeks just doing around-town driving errands, with my longest trip being a short road trip to snap photos and record 0-60 stats.

Additionally, some Dodge design intern nailed the owner demographic for the Dart, in a graphic atop the battery cover.  Dem glasses, brah.  Dat hair, dude.

Braking: 10 / 10

The Dart sports disc brakes all around.  There was no play in the pedal - braking begins as soon as you begin depressing.  I also had the experience of a true panic stop - I was going about 40, maybe 45, and was very late in noticing a quickly approaching stop sign.  Slamming on the brakes, the ABS kicked in… sorta.  The ABS engaged and gave me a thorough foot massage, but just like the TCS allowing wheelspin, I was shocked at how much skidding the ABS allowed.  In a billow of smoke, I did manage to just stop in time without entering the intersection.

Regular braking is very smooth and predictable.  Tying in with the suspension, the Dart’s sporty nature means it will only nosedive under heavy braking, such as a panicstop situation.

Ride: 8 / 10

The Dodge Dart SXT is very comfortable to ride in, even for extended periods.  Suspension is firm, and still soaks up bumps, but it won’t make bumps disappear.  This is a car that you will have to slow down for speed bumps to avoid a concussion, but if you do nail a speed bump, the car will at least concuss you politely.

Handling: 9 / 10

Steering is precise and responsive.  The wheel gives you plenty of feedback from the road, and has just the right amount of pressure.

The Dart stays true in a straight line, and it eats up corners at speed.  Go fast enough, and you will feel it stretch onto its toes and seem to hunch down for stability as it approaches understeer territory, but you’d really need to be pushing it beyond a safe speed for the front tires to begin slipping.  It will eat up any off-ramp you throw at it, and is fun to drive in the twisties, particularly if you can safely do so with a bit of pep.

Gearbox: 8 / 10

Although I’d much rather have a proper manual, the Powertech 6F24 6-Speed Automatic with AutoStick was great for an around-town kind of situation.  Clearly I had a lot of fun driving this car, and this is largely due to a quality transmission.  Shifts were smooth and quick, and I was never surprised or denied a gear except of course when you would have over or under-revved - in these instances, the car politely tells you you’re an idiot, and that a gear change is unavailable.  I’ve driven other AutoSticks where gearshifts have been inexplicably denied or delayed when they would have otherwise been safe to do so - that was not the case here, and as I think about it, I can’t ever recall a time this has happened to me on a Dodge AutoStick (Dart, Charger, Challenger).

Audio: 6 / 10

The base AM / FM / CD / AUX / USB / Bluetooth stereo was installed.  This stereo features UConnect standard, which I will address in a moment.  As you can see, the car was so new that some places still had the protective plastic still attached.

The stereo sounded great, and actually had too much bass response - the stereo only has a three-band equalizer, and cranking the bass swelled the curve too much.  An aftermarket stereo would do wonders on the bass end, simply due to more precise tuning.

Auxiliary input was located in the under-armrest storage console, but USB input was nowhere to be found.  It wasn’t on the dash, in the storage console, nor was it in the glovebox.  USB was selectable on the stereo; the screen simply said USB, and the stereo kept silent.  Not sure what to make of this.

Toys: 3 / 10

Dear Dodge,
We need to talk.
It’s about UConnect.
-Me

So, selecting UConnect on the Stereo is a combination of enabling Bluetooth and allowing you to use select voice commands through Dodge’s own system.  It is useful for tasks like making phone calls (Jake, you can’t touch it with your voice!  It’s not PHYSICAL!), or asking Siri to do something for you through the Dart’s own microphone.  At least, that’s the idea.  I barely got it to work.

Pairing UConnect with my iPhone was a breeze - I hit the UConnect button, and the Dart’s voiceover prompts had my phone connected in under a minute.  Instantly I was able to ask Siri to play me music, or ask UConnect to do the same task.  This only worked in practice for the 10ish minutes I was playing with it after initial setup.

Subsequently, my phone would automatically connect via Bluetooth upon starting the car, and I could play music wirelessly, but the stereo’s Pause and Skip controls were sometimes delayed by several seconds.  Although playing music worked perfectly, I could no longer use UConnect to give voice commands via UConnect or Siri.  UConnect voice commands would no longer activate at all, and attempting to use Siri would activate Siri on the iPhone, but she’d hear nothing; the iPhone’s microphone was disabled because it was supposed to use the Dart’s, however the Dart sent no audio to the iPhone, meaning Siri couldn’t hear anything you said to her.

The next problem with the UConnect system was how it randomly began playing music.  The stereo would unpause itself without warning, making for an annoyance and sporadic interruption of conversation among passengers.  The UConnect Stereo seemed to only work perfectly when playing audio - but if you aren’t playing music / audio, you’re going to have a bad time… it will just turn itself on.

Finally, with the iPhone paired, I used GPS (Google Maps, MotionX GPS) with voice directions - again, this worked very well… as long as you had music playing behind it… and if you didn’t have music playing, don’t worry, the Dart would still randomly unpause and start your music library at random whether you like it or not, as described above.  When the GPS did not have music behind it, the UConnect stereo had the unfortunate problem of cutting off the first 1-2 seconds of directional audio.  “In ¼ mile, take Exit 225 South toward Cave Springs / Truman Road, on the Right” would be mangled and redacted by UConnect to just “ight.”  Really helpful UConnect.

UConnect gets a lot of praise, but I found it to be the Dart’s absolute worst feature.  I loved the Dart, but the UConnect system was a train wreck to the point that it was often easier for me to just disable Bluetooth on my phone and let the Dart think I left my phone behind.

Full Disclosure: The rental company had removed the Dart’s Owners Manual, so I had no way to troubleshoot beyond the Internet (which I honestly didn’t have time for on my trip).  So if anything, my experience may be typical of your average owner who is tech-savvy enough to use Bluetooth, but be computer-illiterate enough to not know where to find the answers.

Value: 8 / 10

With an MSRP of ~$19,890, the 2015 Dodge Dart SXT with just a few options isn’t a steal, but it is definitely a worthy competitor in the market currently dominated by cookie-cutter Corollas and Civics.  What sets the Dart apart is quite apparent just by looking at it, but it doesn’t fully register until you’ve actually driven one - The Dart has a soul (and an affordable leasing program, Jake).

TOTAL: 74 / 100

The Dart lives up to its name as a muscle car’s little brother, with more horsepower (except for the much more expensive Civic Si with just 17 more horsepower), more torque, and much more attitude than its boring classmates.  Quite simply, the Dart is every bit as reasonable, but infinitely more enjoyable.

So I implore you; go ahead…  Please DO touch my Dart.  You’ll just want your own even more.

Without My Voice

This week I lost my voice.  I’m quiet, difficult to understand, and have the vocal range of Jack Bauer doing a Vito Corleone impersonation.  In the past four days I’ve shot a corporate dinner party, an engagement, and a wedding… without my voice.

It happened Monday after a happy (four) hour(s) hosted by Capital Area Photographers; a DC area group of professional photographers that meets to share business advice and experiences.  In this case, it was CAP’s end-of-year holiday bash happy hour at a bar in Alexandria just off the waterfront.

After 4ish hours hanging out with a bunch of other local photographers, getting everyone hooked on Grey Goose martinis, posing in a chilly photobooth outside, and frequently answering questions about my unique niche in the market shooting for the aviation industry, it was time to call it a night.  As I left the bar’s din behind me and wished the greeter a good night, I then heard how damaged my voice had been left from straining to converse over a gaggle of chatty photographers crammed into a small upstairs bar.  It wasn’t entirely my fault; I was predisposed - the few days before, I had been battling a cold in my sinuses and throat, although with no detriment to my voice.

So that's why I've sounded the way I sound, if you've had a shoot with me this past week.

What is it like to photograph without a voice?

At a consultation the next day I was told I sounded like a two-carton-a-day chain smoker… a comment I’d hear several more times from others for the rest of the week.

Wednesday was a corporate dinner party and award ceremony, which featured Vernice “Fly Girl“ Armour, the first African-American female combat pilot and first African-American female USMC aviator, as the keynote speaker.  The hardest part was cocktail hour, where I largely have to interact with folks to get the shots I need.  Usually I’ll snap a few candids as a cold intro, and unless folks are so engrossed that they don’t notice me (in which case I’d snap a few more candids), I then step in and make some comment that groups everyone closely together while simultaneously loosening them up.  It’s almost like the psychology behind “pickup-artist” theory - saying one thing to indirectly elicit something else… except without the creepiness, or “picking up.”

But how do I do that when I can hardly be heard?  Well, some groups are more extroverted and naturally fall in place for a photo without much of any input (but I still like to at least say something before moving on; otherwise you’re just a creepy guy who takes pictures anonymously).  I even had one person see me take a few candids of them, and immediately come up to me to make jokes about my “big camera” before I had even began to approach them - this was easy; I said, in my raspy, gravelly voice, “ Let me guess; you’re going to make fun of my voice next?”  Their jaw dropped, then the entire group burst out laughing, realizing how ridiculous the whole situation was - this group has seen me at other events I’ve shot, so they know I don’t usually sound like that.

Introverted groups were the tough ones to figure out a strategy, because I quickly learned how reliant I am on my voice to get noticed, and get them loose for a good picture.  For the most part I adapted my normal methods, but here I snapped a few candids regardless of if they were any good - some I KNEW were throwaway shots I’d never use except to be noticed in the moment (while not being annoying about it) - I then immediately stepped in and instantly addressed the elephant in the room (“So I lost my voice yesterday at another event.  It was REALLY loud…”) and ended with a question so THEY would do most of the talking, loosening themselves up (“…did you try their Signature Drink yet?”).

I used these methods that still use my voice, but minimized its use by changing my crowdwarming strategies, for about 50% of candid group photos.  The other 50% of the time, I changed my shooting style.  Usually I am in close with a 35mm so I can interact and use my voice, chatting it up while I shoot, but since I was avoiding this, I began using my 85mm to get enough distance that it would have been rude to talk from that distance.  This worked best with the extroverts, and usually just shaking the camera in my hand and then motioning to squeeze closer together got everyone setup, no words required.  On a normal day with a normal voice, I would only do this maybe 5% of the time.

The rest of that event was easy, as it required no words to photograph the keynote speaker or awards being bestowed.

Next I shot an engagement session, and those are of course very intimate… but they’re also quiet, so my only limitation here was not being able to yell instructions from a distance.  My engagement session style is to place a couple in different situations with minimal instructions, and let them play off each other after that - this reveals their natural emotions and mannerisms, and I just document.  Since I purposely am somewhat hands off in my shooting style, this was not hard to adapt my limited voice to at all - I’d give them the few instructions (“Let’s have you two start right here, then slowly walk along this path toward me once I get all the way over there.  I’m not here; you can tell dirty jokes, talk about how ugly that building is, whatever you want.”) and in the few instances where I’d normally yell an instruction from a distance (“Ok, stop right there.) I’d instead do a quick jog up to them to instruct, or let it play out and then go back and do it one more time after explaining what to do differently.  Overall the engagement was fairly standard aside from not being able to instruct from afar.

Finally, the wedding last night (yes, it was the same couple from the E-Sesh; it's just easiest to call it that).  Luckily it was a dinner party at a French restaurant, and by design the formal family portraits were first thing.  This was great, because I had the entire party in front of me, and their attention.  I treated it just like any other formal portrait, where I introduced myself, but here I explained, “I don’t normally sound like this; I lost my voice on Monday, and I’ve had shoots all week, so it hasn’t gotten a rest.  But that’s OK, because YOUR wedding is my LAST SHOOT OF THE YEAR!”  That alone got everyone cheering and ready to be photographed.  After going through my usual instructions for portraits, I began shooting no problem.  The couple was a big help because they knew exactly which family members to grab for each photo, and got them in frame; all I had to do was pose and snap.  Since everyone was warmed up to me from the start, the rest of the evening was a breeze; I shot my usual candids and details, but most of the time I had guests grabbing me for pictures they wanted - the only input I needed to give was the occasional change of location for better lighting.

I just love this selfie photo.

David and Spencer's wedding photos will be coming later in a separate post; stay tuned.

This week was a crash course for me in better noticing the immense role my voice plays in my own photography style when interacting with subjects, and really the underlying psychology in how I relax folks.  It’s been an ongoing, on-the-fly learning experience to adapt, and thusly alter my methods to get the same results.  What I learned is you can’t just change one thing, such as your focal length - everything must change with it.

Maybe Santa will bring me my voice for Christmas… but hopefully I have it back before then.

Merry Christmas and Happy Holidays everyone!

Film Haul: Old Film, New Scans

So I have a confession to make: I'm a really bad film shooter.  Specifically, I'm horrible at getting film processed in a reasonable timeframe, since I stopped developing my own film after completing darkroom classes in 2009.  I miss film. I miss the darkroom.  I miss film canisters, test strips, and silver grain.  Maybe those days are over.

I've shot film for fun ever since learning how to develop and print; not often, but often enough.  I've always enjoyed the variance of color shifts by film, but haven't had access to a darkroom in years, so I've had to pay for processing.  This is in addition to having an all-digital workflow for paid shoots.  Knowing that big-box and drugstores don't bother to regularly calibrate their machines, often using expired chemicals to stretch their overhead, and set scanners to AUTO, for several years I let Penn Camera handle my film processing expecting quality and consistency.  I'm not sure if Penn was guilty of the same injustice many consumer labs are guilty of, but the scan quality always lacked (I don't order physical prints).  Given my dissatisfaction with Penn, I tried Dwayne's Photo (recently famous for being the last film lab in the World to process now-discontinued Kodachrome).  They were an improvement, but colors still never seemed quite right, and contrast was still so high that shadows were still sometimes blown out.  I think this was a problem with the scans more than the processing - in looking at my negatives from Dwayne's, I expect I could have them rescanned more carefully with much better results.

Something has always been missing... until now.

I've been searching for a highly reputable film lab for years now - not terribly hard, but I've been looking and reading other photographers' experiences.

Every person I found who had tried Richard Photo Lab was in LOVE with them... and now I'm writing my praises too!  Their pricing is almost double what other labs charge, but there is a reason; the quality is unparalleled.  After a bit of comparison, I chose to have my film scanned on their Fujifilm Frontier scanner, as I consistently found its color and tonality reproduction to be smoother.  And with two fresh rolls out of my new (old) medium format camera, I had more than enough reason to send in the rolls of film I've let pile up waiting to ship to RPL (this is why I'm a bad film shooter).

Ilford Delta 400 (35mm)

Let's start with the oldest - I had a roll of Ilford Delta 400 I think Gwyn gave me back in film class in 2009 - I got around to shooting it in 2014's big March snowstorm (I usually don't shoot B&W films).  Hiking along the Potomac, Jake and I kinda came across this trail by accident and decided to see where it led after reading the trailhead map.  I'm not even sure what trail this was.

I apparently killed off the roll shooting these two photos at Dulles while waiting for the sun to set so I could photograph the Main Terminal lit up in pink for breast cancer awareness.

I should note that while I chose Fujifilm's Frontier scanner because of my preference of its color reproduction, black and white films are only scanned on the Noritsu.  This isn't a bad thing; RPL's Noritsu scans are slightly higher resolution, and there is less demand, so turnaround time is faster (unless you are like me and your order encompassed both scanners).

Overall, my order of 3 Frontier rolls and 1 Noritsu roll took 12 days from arrival to scan delivery (I sound like I'm ordering sushi - seriously, you sushi places need to start making "Fuji Rolls" that look like film canisters - I'll love you forever and ever).

Kodak Portra 400 (35mm)

Same day, same story, different film.  Portra 400 is my go-to film.  I like its smooth, creamy highlights, and subtle green hues in the shadows.  This roll was sitting in my camera for several months; an incomplete roll that I started in the Fall, and finished in the snow.  Let's start with those snow pictures.

I often push Portra 400 +1 or +2 stops, but I have a hunch I had this roll set up to experiment with pulling the film a stop or two, and didn't realize it when I sent the roll in.  The scans from this roll were incredibly color grainy, with loss of shadow detail, so I can only assume this was the scanner compensating for overexposed / underdeveloped negatives... poor negatives which I'm sure were my fault.  I think the roll was to be pulled, but it sat on my desk for a year waiting to be sent in with no notes written on it - I think I was supposed to give development instructions to pull this roll, but didn't know when I sent it in.  I'll know for sure when I have the physical negatives back to check out.

Either way, here are those photos.

In the case of this Portra 400 roll, I applied a lot of color noise removal - I have not applied ANY luminance noise removal to ANY of the film photos in this entire post.  Given the amount of noise in this set of scans, the color noise now appears as luminance grain.

I must also note that I have not applied any color edits to any of the film scans on any section of this post. The only edits I have applied are basic contrast adjustments to bring tonalities to absolute white and absolute black (as you would in a darkroom).  The thing that makes RPL's scans so great (when you haven't left out key development instructions like I did on this roll... oops!) is not a thing... it's a WHO!  Every single roll of scanned film is done by hand, individually, by a person.  There are no presets.  There are is no "automatic" setting.  You get a real, live, film professional with years of experience who inspects your images and scans, and changes the scan settings to bring out the best of your film, as well as match any stylistic preferences you have given.

Richard Photo Lab offers what are known as Color PACs, or Personal Account Consultations, which allows their customers to help put a color profile together for film technicians to match stylistically.  The interesting part about a Color PAC is that it isn't a saved color profile with settings plugged into the scanner; it is a tangible set of notes and photographic examples for techs to review and make individual decisions in order to match new rolls to a given Color PAC.  If you don't have a Color PAC with RPL, you can opt to use another photographer's which is existing on file.

For more information on Color PACs and how Richard Photo Lab processes behind the scenes, Johnny Patience has a great article on his blog after he interviewed Richard and his crew.  I did not use a Color PAC for my photos, particularly since this is my first time trying Richard Photo Lab out.  I wanted to see what the lab is capable of without any influence - I'm blown away, particularly by the 120 Portra 400 later in this post.

Here is a snap of the Darling Starling I shot during the same storm.  You'll notice that I posted my digital photos of the Starling and this hike along the Potomac in this earlier blog post.  This photo required a large amount of adjustment for the whites and blacks, as it was the flattest photo I got back, with almost no shadow detail.  A fair recovery, nonetheless.

And here is the reason I think I had this 400 ISO roll was set for 200 or even 100 ISO: the very first shot on the roll was shot in broad daylight, using my 90mm tilt-shift lens wide open.  I like to shoot primes as wide open as applicable, even in daylight, so I probably chose to drop my effective ISO to shoot wide open in daylight... then forgot I'd done it.

Still pretty though.

Mamiya Super 23 Press Camera

I suppose now I should introduce my newest camera acquisition.

A few years ago, when I wrote my Lubitel 2 to EOS conversion post, I gave my high school geometry teacher a shoutout for the math skills I learned in his class which helped with that project.  He followed my photography before that, but since then he's followed me even closer.  Recently he and I met up to reunite and catch up from the last decade (iPhone 5 selfie).

At the same time, he told me about his Father who had passed away.  His Dad had a good collection of high end photo equipment, and rather than see it collect dust, his family wanted to see it given to a good home where it would surely get some love.

So that's how I came to have my first professional (albeit 47 years old) medium format camera.  I still have my Holga, which is also medium format... but it truly is a toy in comparison.  Toys are fun though!

Here it is; a very used but very good condition Mamiya Super 23 Press camera, with Mamiya-Sekor 100mm f/2.8 Seikosha-S and Mamiya-Sekor 250mm f/5 Seikosha-S lenses (apparently the two rarest, most desirable lenses for this short-lived camera system thanks to their Seiko produced leaf shutters), 6x9 and 6x7 film backs, ground glass view back, and a few other small accessories.  Here's a digital photo of the film camera.

And here I am shooting it for the first time (thanks to David Tsui for the photo; another digital photo).

You'll notice that it's a very odd rangefinder.  The shutter button is a left-hand trigger on a detachable pistol grip.  As with many medium format cameras, film is exposed via a leaf shutter built into the lens.  The shutter may be triggered on the lens itself, or the pistol grip's remote wire can be screwed into the lens to activate the trigger.  Film backs and ground glass backs may be hot-swapped by pulling or reinstalling the dark slide.  There are two coldshoes, and flash sync is built into the lens with two modes for different types of flashes (not front vs rear curtain as often confused).  Tilt and shift adjustments are built into the camera body; the film back is actually on a bellows with four lockable posts.  Macro rings were sold as an accessory, but you can cheat a little and fully extend the bellows to get a shorter minimum focal distance without macro rings (and without rangefinding - you'll have to focus using ground glass to do this).  There is no meter; you must use an external meter - I used a free app on my iPhone, amazingly with spot-on accuracy!

Framing is achieved by composition aids in the viewfinder, illuminated by sunlight shone in a diffuser panel and directed through a set of mirrors.  A switch offers composition lines for 100mm, 150mm, and 250mm, although a 60mm wide-angle lens is also available.  Rangefinding focus is found in a small, double image circle in the viewfinder center.

Before I shot with the camera, I gave every component a good cleaning, removing the years of dirt and grime that had collected from living in a box.  Using the ground glass back and a film loupe (yup, they are for more than checking out negatives!), I calibrated the rangefinder for both the 100mm and 250mm lenses I have - luckily the problem was a rangefinding misalignment in the camera body, meaning I only had to fix it on the body for all lenses to calibrate, rather than adjust the rangefinder bar individually on each lens.  If I hadn't done this calibration, every photo below would have been out of focus (but would have registered in focus in the viewfinder).

While calibrating the rangefinder, I also noticed that the lenses are somewhat unusual in that they do not allow focus past infinity - this is most common on pre-autofocus lenses, but makes me uncomfortable in the event that a lens comes out of calibration, and no longer has that extra leeway to focus at infinity even if the dial says you're past it.  The advantage to this is that you don't have to worry about going past infinity if your lenses are properly calibrated, as these thankfully are (you just twist the dial until it stops at infinity, and don't even have to pay attention to focus in the viewfinder... assuming you want focus at infinity).

The Mamiya Press mount line of cameras only lasted 11 years, being discontinued in 1971, left in the dust by the 645 system introduced in 1975, which is still one of the most popular medium format systems in production to this very day.

An interesting camera to say the least.

Kodak Portra 400 (120)

This is what Portra SHOULD look like!  Never before have I had my film come back so crisp and vibrant.  Beautiful tones, outstanding range, and very little grain!  Thank you Richard Photo Lab!

I shot my first two rolls on the Mamiya Super 23 with Portra 400 at box speed, with beautiful results!  Unfortunately I missed Autumn's color peak in the Shenandoah Valley this year due to my travel to St. Louis, but I still went with friends on a frigid weekend; there was snow on the mountaintops.  With the way the wind blows and sun shines, one side of the mountain valley still had color, and the other was barren; all the leaves had been removed by Mother Nature.

120 roll film in a 6x9 format only gets you 8 exposures per roll.  I shot two rolls of Portra 400 atop the mountain; my last two frames as the sun had just dipped below the horizon.

As soon as I finished these two test rolls (shot a few days after calibration regardless of subject matter to ensure my calibration was accurate in actual practice), I sent them to Hollywood to get them in RPL's queue.

I want to shoot a portrait session on this camera!  Specifically lifestyle portraits; maybe even in the snow.  I have a roll of Fuji Pro 400H loaded in my 6x9 back, but haven't gotten to shoot it yet - this will be an experiment regardless, since I've never shot 400H.  I do know from seeing others' photos that it's another film I have found the tones interesting, with its daylight balanced blue-greens.  I'm unsure how it will look for portraits, but that's the fun of it.

Digital: Shenandoah Valley

The rest of the photos in this post are digital, shot on a Canon EOS 1D X.

I think it's only fitting that I show the digital photos shot alongside the medium format film.  The final three were shot by Jake (no watermark), but all were edited by me before I had the film scans back.  If I had waited for the scans to come back first, I could have edited the photos to match the scans.

Overall I seem to edit slightly more vibrant than film, but tend to have similar tonality.  I also tend to stretch the dynamic range a bit.  This isn't really news; I like to try and mix the tonality of film with the added benefits of digital when I process my digital photos.

I couldn't be happier with finding Richard Photo Lab and the results they have gotten me with the new Mamiya.  I've already started a roll of Fuji Pro 400H, and can't wait to finish it and a few others before sending them in for the next film haul.

One last thing; I have to leave you anticipating SOMETHING.  So you know my converted Lubitel lens on Canon EOS?  Literally the same day as receiving my digital scans from RPL, I was given a lead on something that will... give my digital photos even more character... stay tuned folks!...

Cyber Monday: 20% or 1hr Off

This offer has expired; Sorry!
Come back for Cyber Monday 2015, and I'm always accepting new bookings!

Another year, another Cyber Monday!

From now until midnight Friday, December 5th, 2014, I am offering 20% off any Portrait Session or Event Photography booking that is 1 - 2hrs in length.  If the booked session or event is 3hrs or longer, I am giving away 1hr of coverage for FREE!

Please share the following link with friends and family:  www.jdavidbuerk.com/cybermonday

You know what to do!  Contact me here to book!

The two offers cannot be combined or substituted; the deal which is applied is determined by how long your shoot actually goes on for.  This offer is NOT applicable for commercial work / business clients, weddings, newborns, pets, or existing bookings - sorry :-/  Sessions must be booked FOR a date before March 1st, 2015.  If you are trying to get portraits for holiday cards, please say so upfront so I can work with you on deadlines!

Hurry; this deal ends midnight Friday, December 5th, 2014 (or if my calendar runs out of space; which ever comes first)!  Understand that holiday volume will make December slots sell out first; I will update this posting if I can no longer accept December clients for December holiday delivery.  I also reserve the right to decline an inquiry if I feel your needs don't match up with my photography, although I can't imagine what that would be.

Book now by emailing me here!

Black Friday: 20% Off Portrait Sessions

This offer has expired; Sorry!
Come back for Black Friday 2015, and I'm always accepting new bookings!

Midnight has struck, and Black Friday is officially underway!

This weekend, I am offering 20% off any portrait session (booked by the hour).  Families, couples, and individuals, you know what to do!  Contact me here to book!

This offer is NOT applicable for commercial work / business clients, weddings, newborns, pets, or existing bookings - sorry :-/  Sessions must be booked FOR a date before March 1st, 2015.  If you are trying to get portraits for holiday cards, please say so upfront so I can work with you on deadlines!

Hurry; this deal ends 12:01AM Monday, December 1st, 2014 (or if my calendar runs out of space; which ever comes first)!  Understand that holiday volume will make December slots sell out first; I will update this posting if I can no longer accept December clients for December holiday delivery.  I also reserve the right to decline an inquiry if I feel your needs don't match up with my photography, although I can't imagine what that would be.

Book now by emailing me here!